Application Access Management
How to access the roles and permissions system
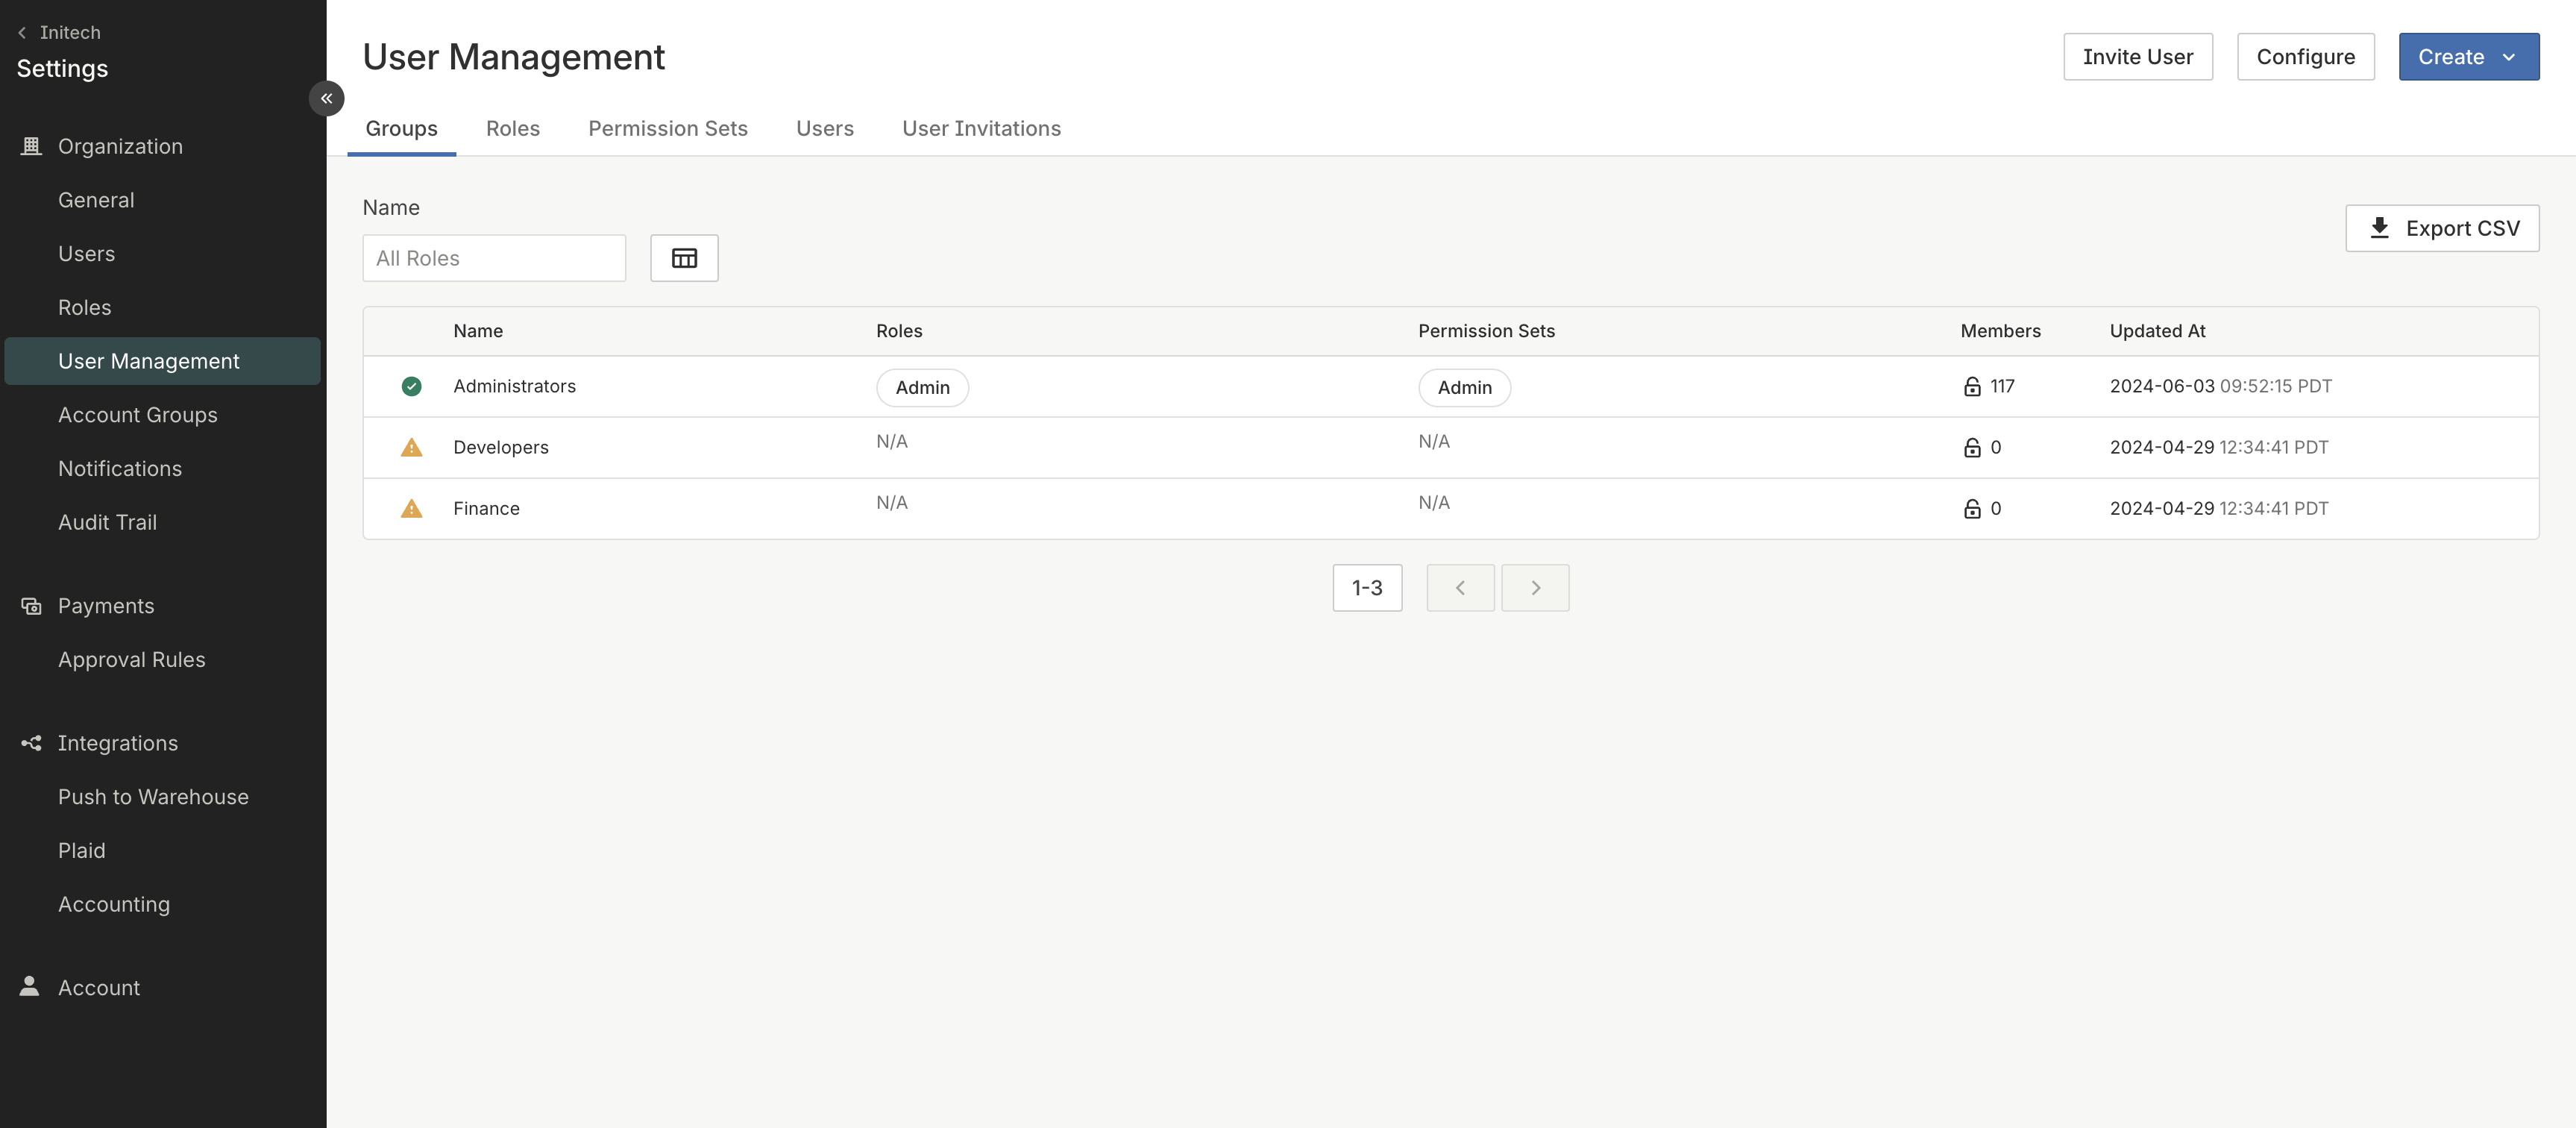
You can access the roles and permissions system by going to Settings and clicking User Management under Organization. Here you will find all of your Groups, Roles, Permission Sets, and Users.
How to create a new Group
SCIMSCIM users cannot create groups in Modern Treasury. All of your Groups are synced directly from your Identity Provider (IdP). If you would like to create an additional Group, please do so in your IdP and then sync.
If you are not a SCIM user but would like to use this functionality, please find more details here or reach out to [email protected].
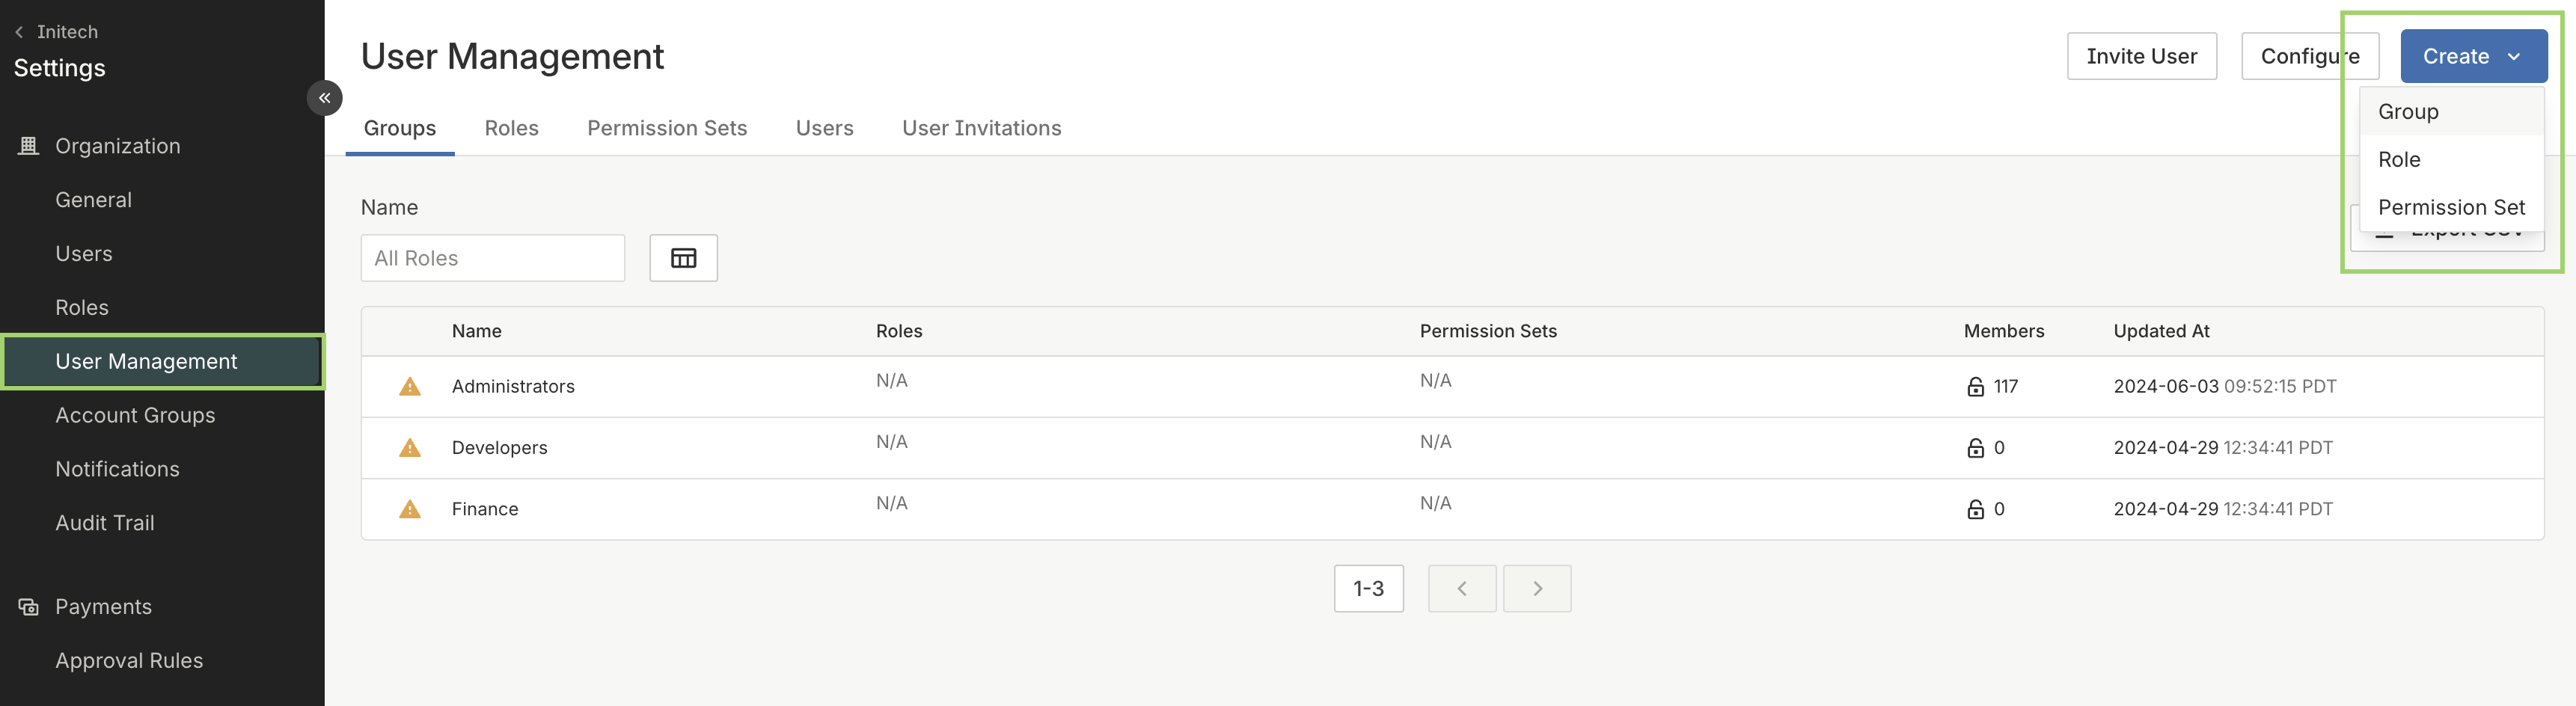
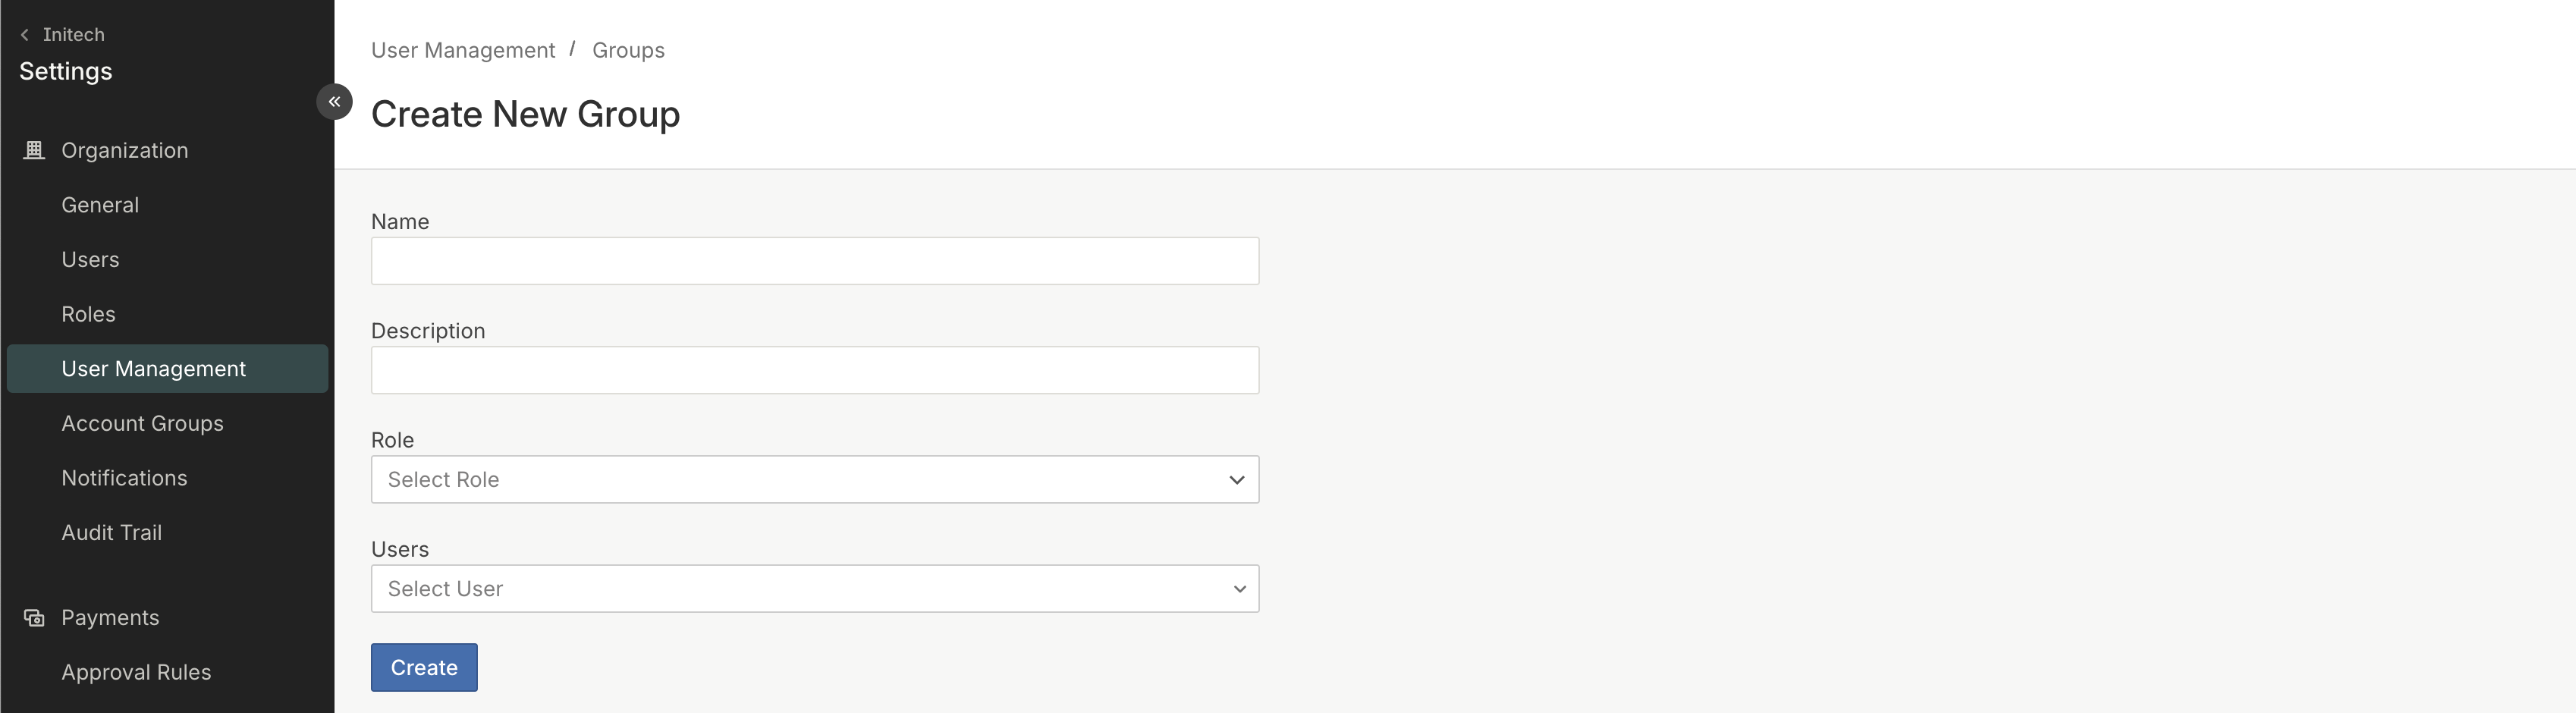
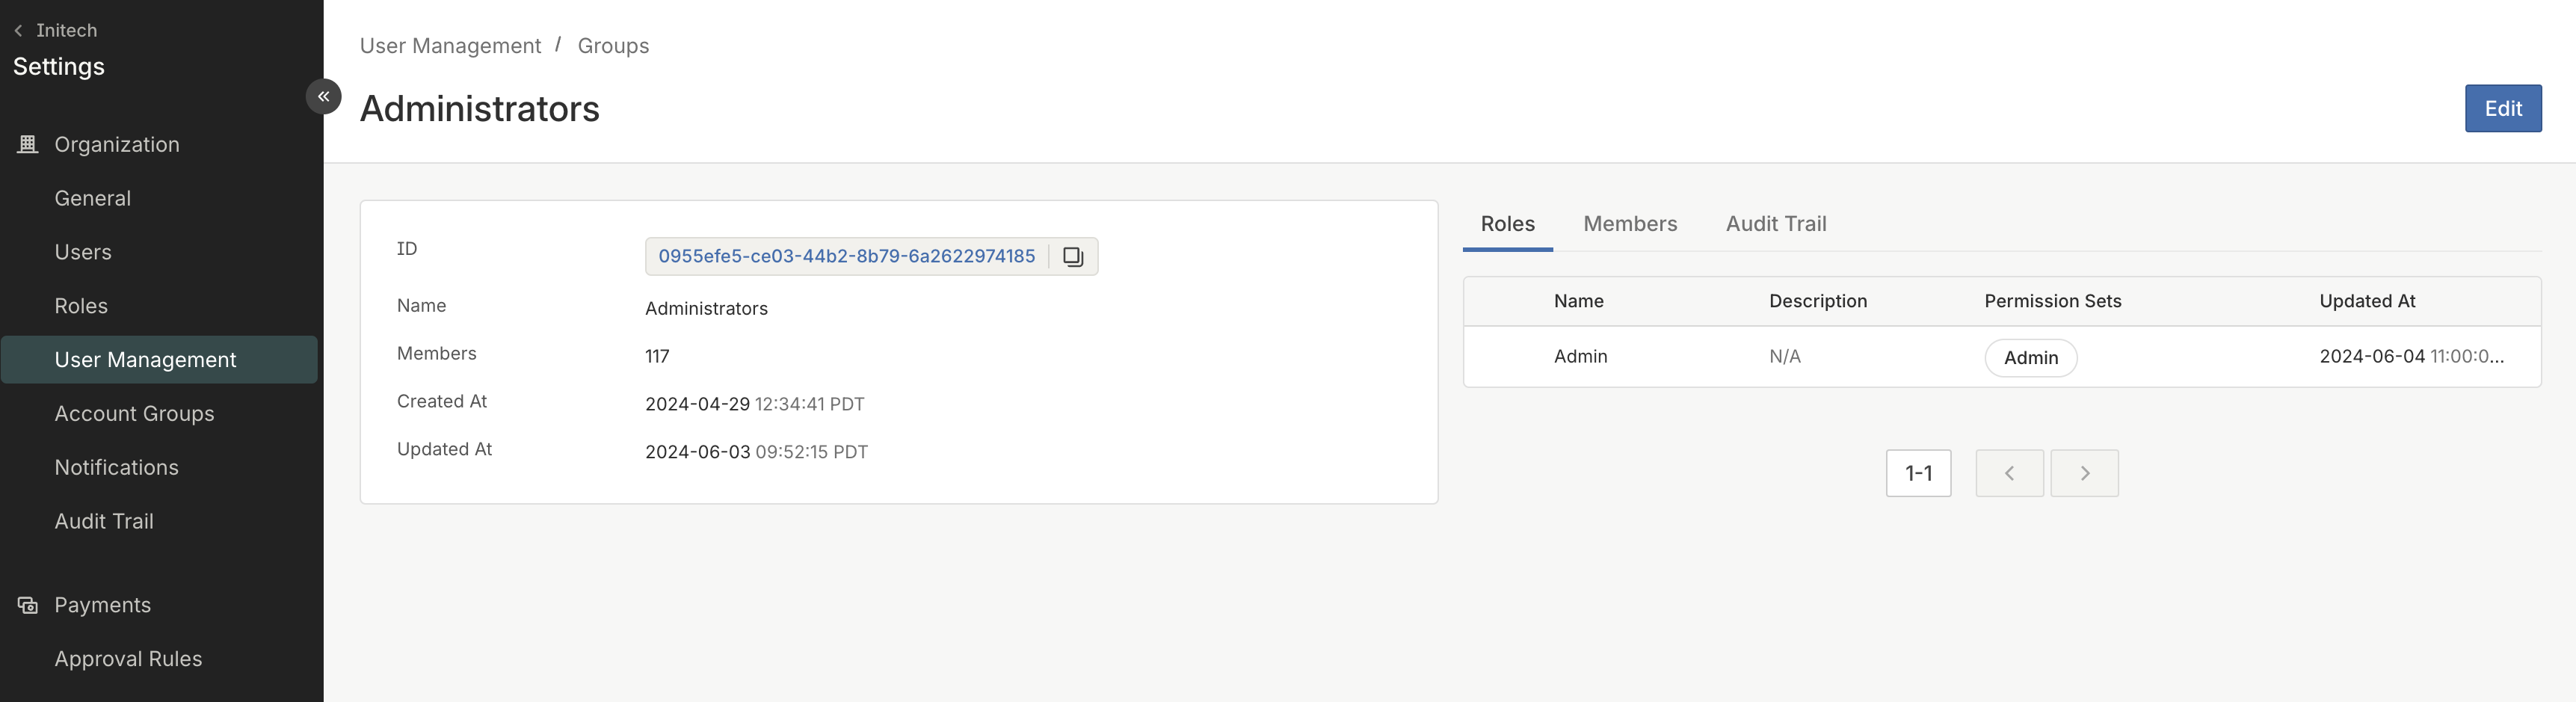
Non-SCIM organizations can create Groups by going to the tab titled “Groups” and hitting Create in the top right. From there the user can invite individuals to the group and assign the Group a Role.
How to create a new Permission Set
Go to User Management and click the Permission Set tab. There are two ways to create a Permission Set: cloning or creating a new custom Permission Set.
Clone an existing Permission Set
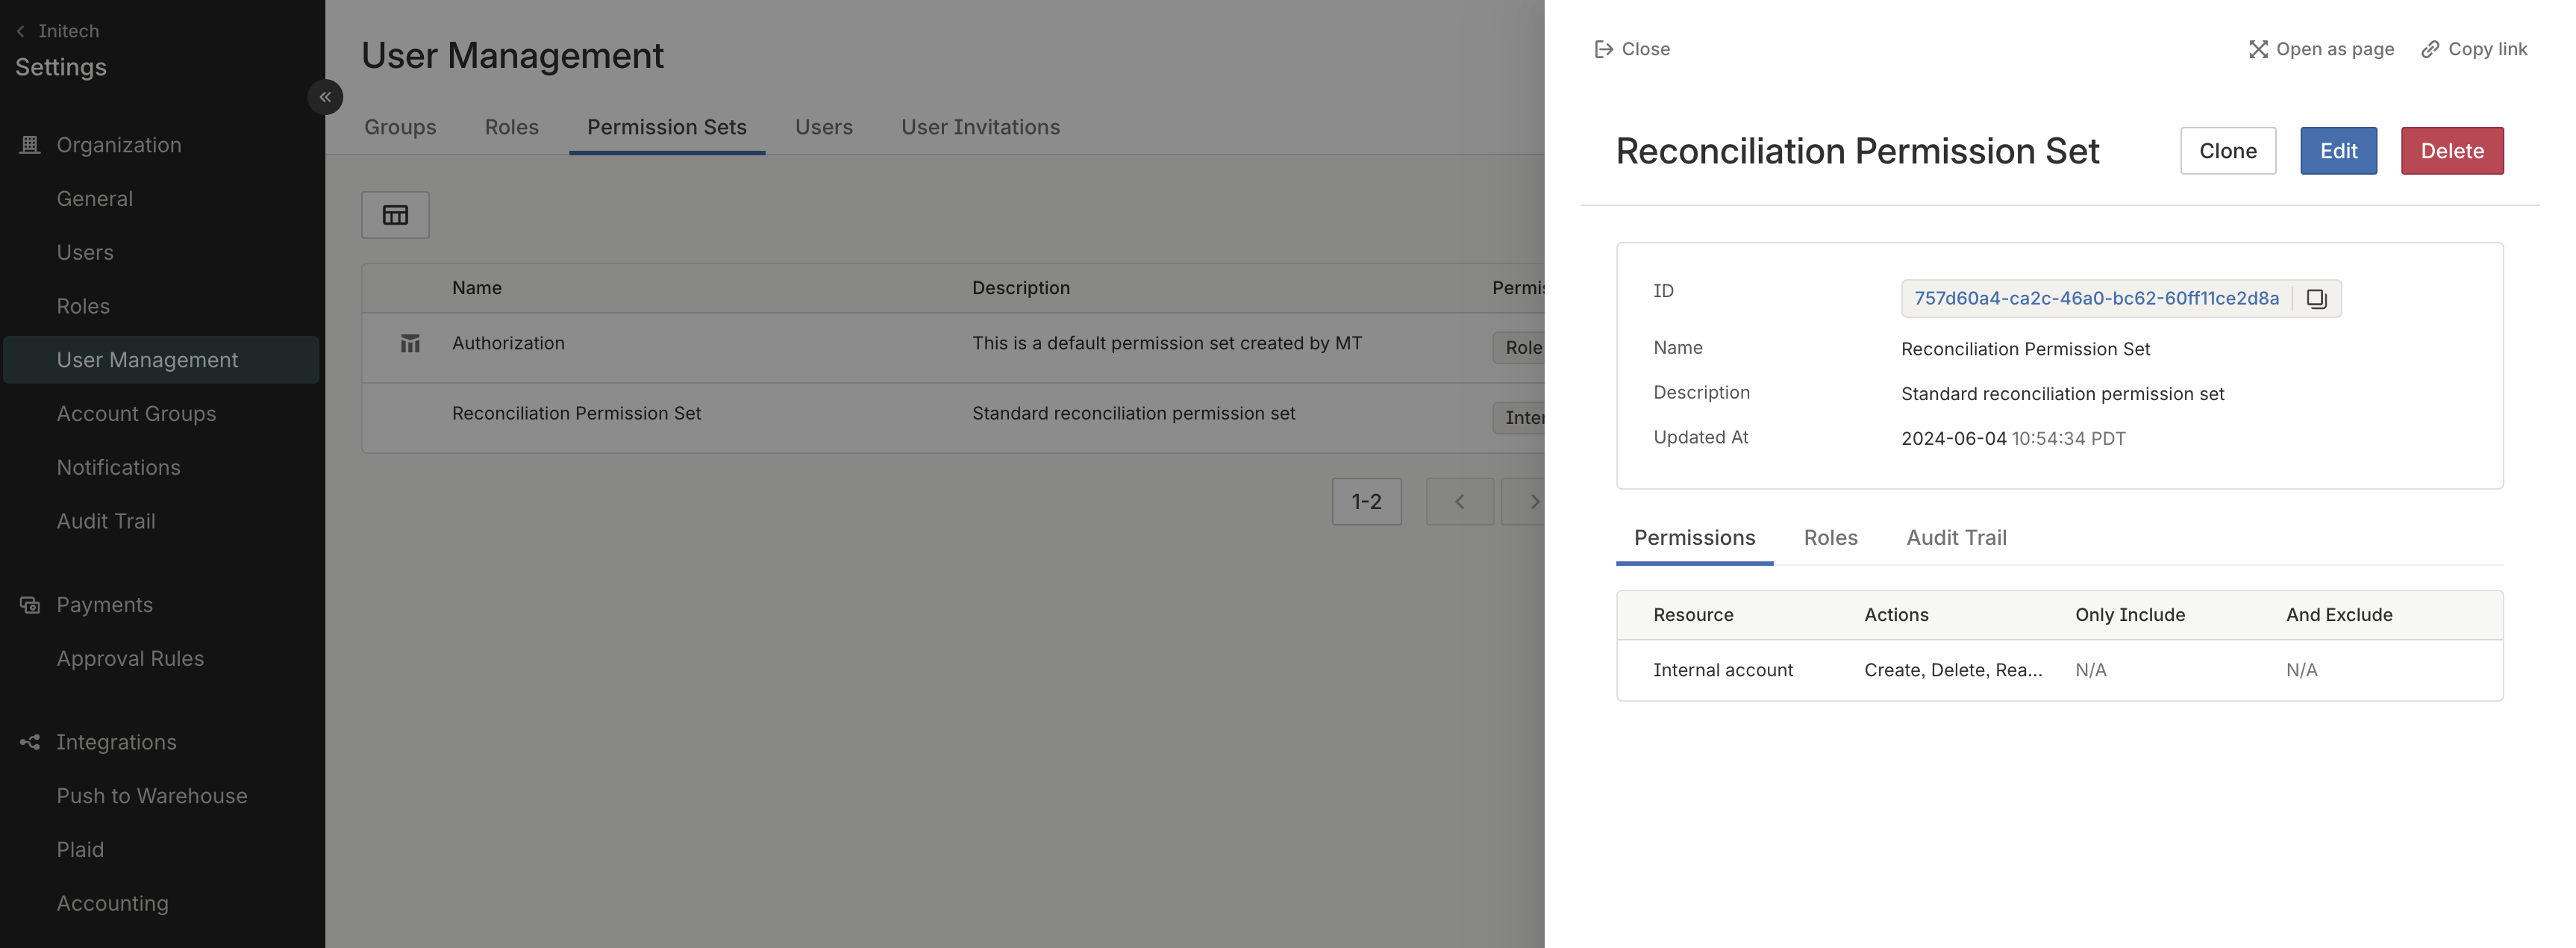
With cloning, you are replicating an existing permission set and then have the option to modify its names and any of the given permissions inside the permission set.
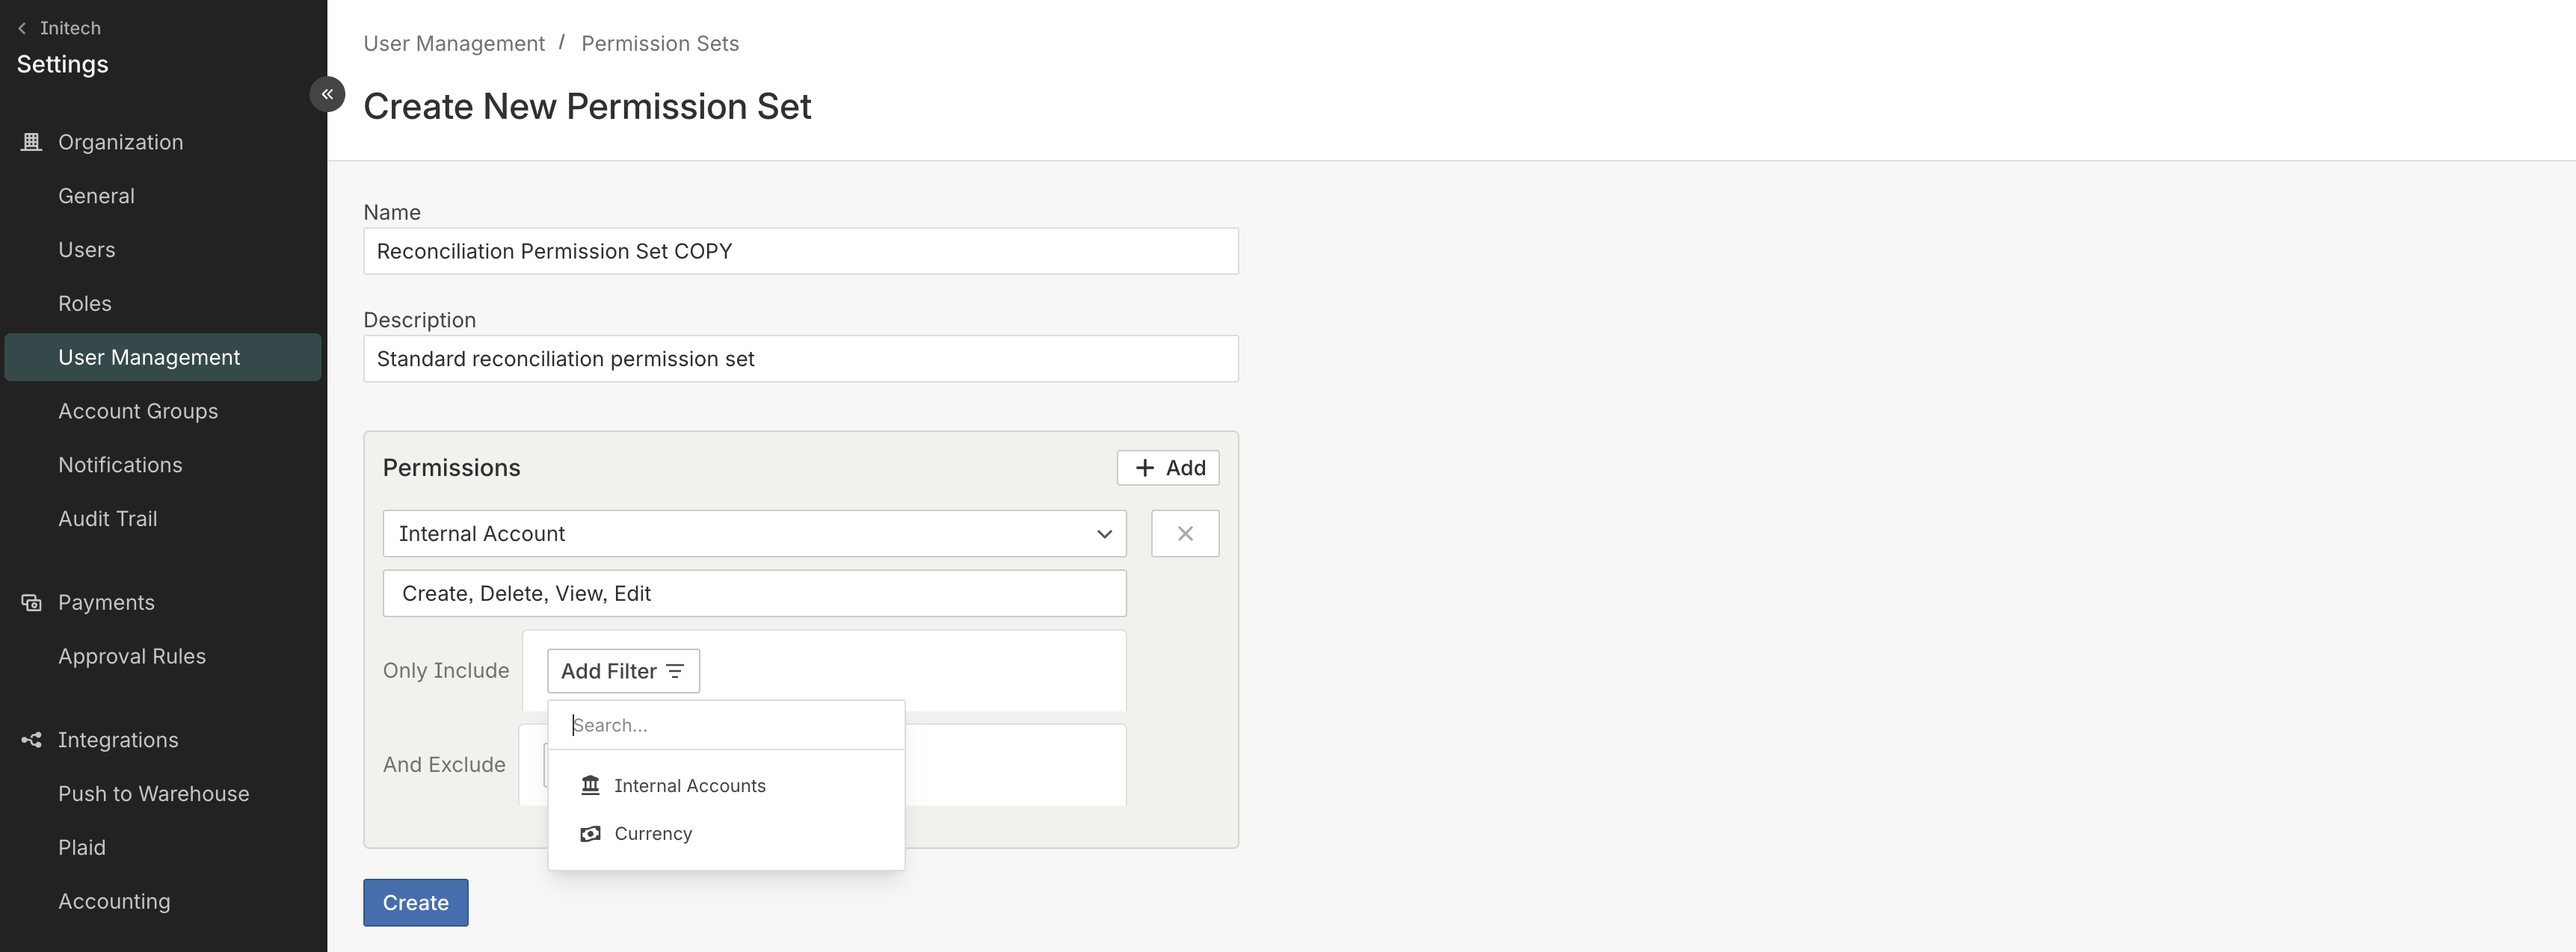
For example you can clone the standard Reconciliation Permission Set, rename it Reconciliation USD, and limit it to Internal Accounts that are in USD.
Create a new custom Permission Set
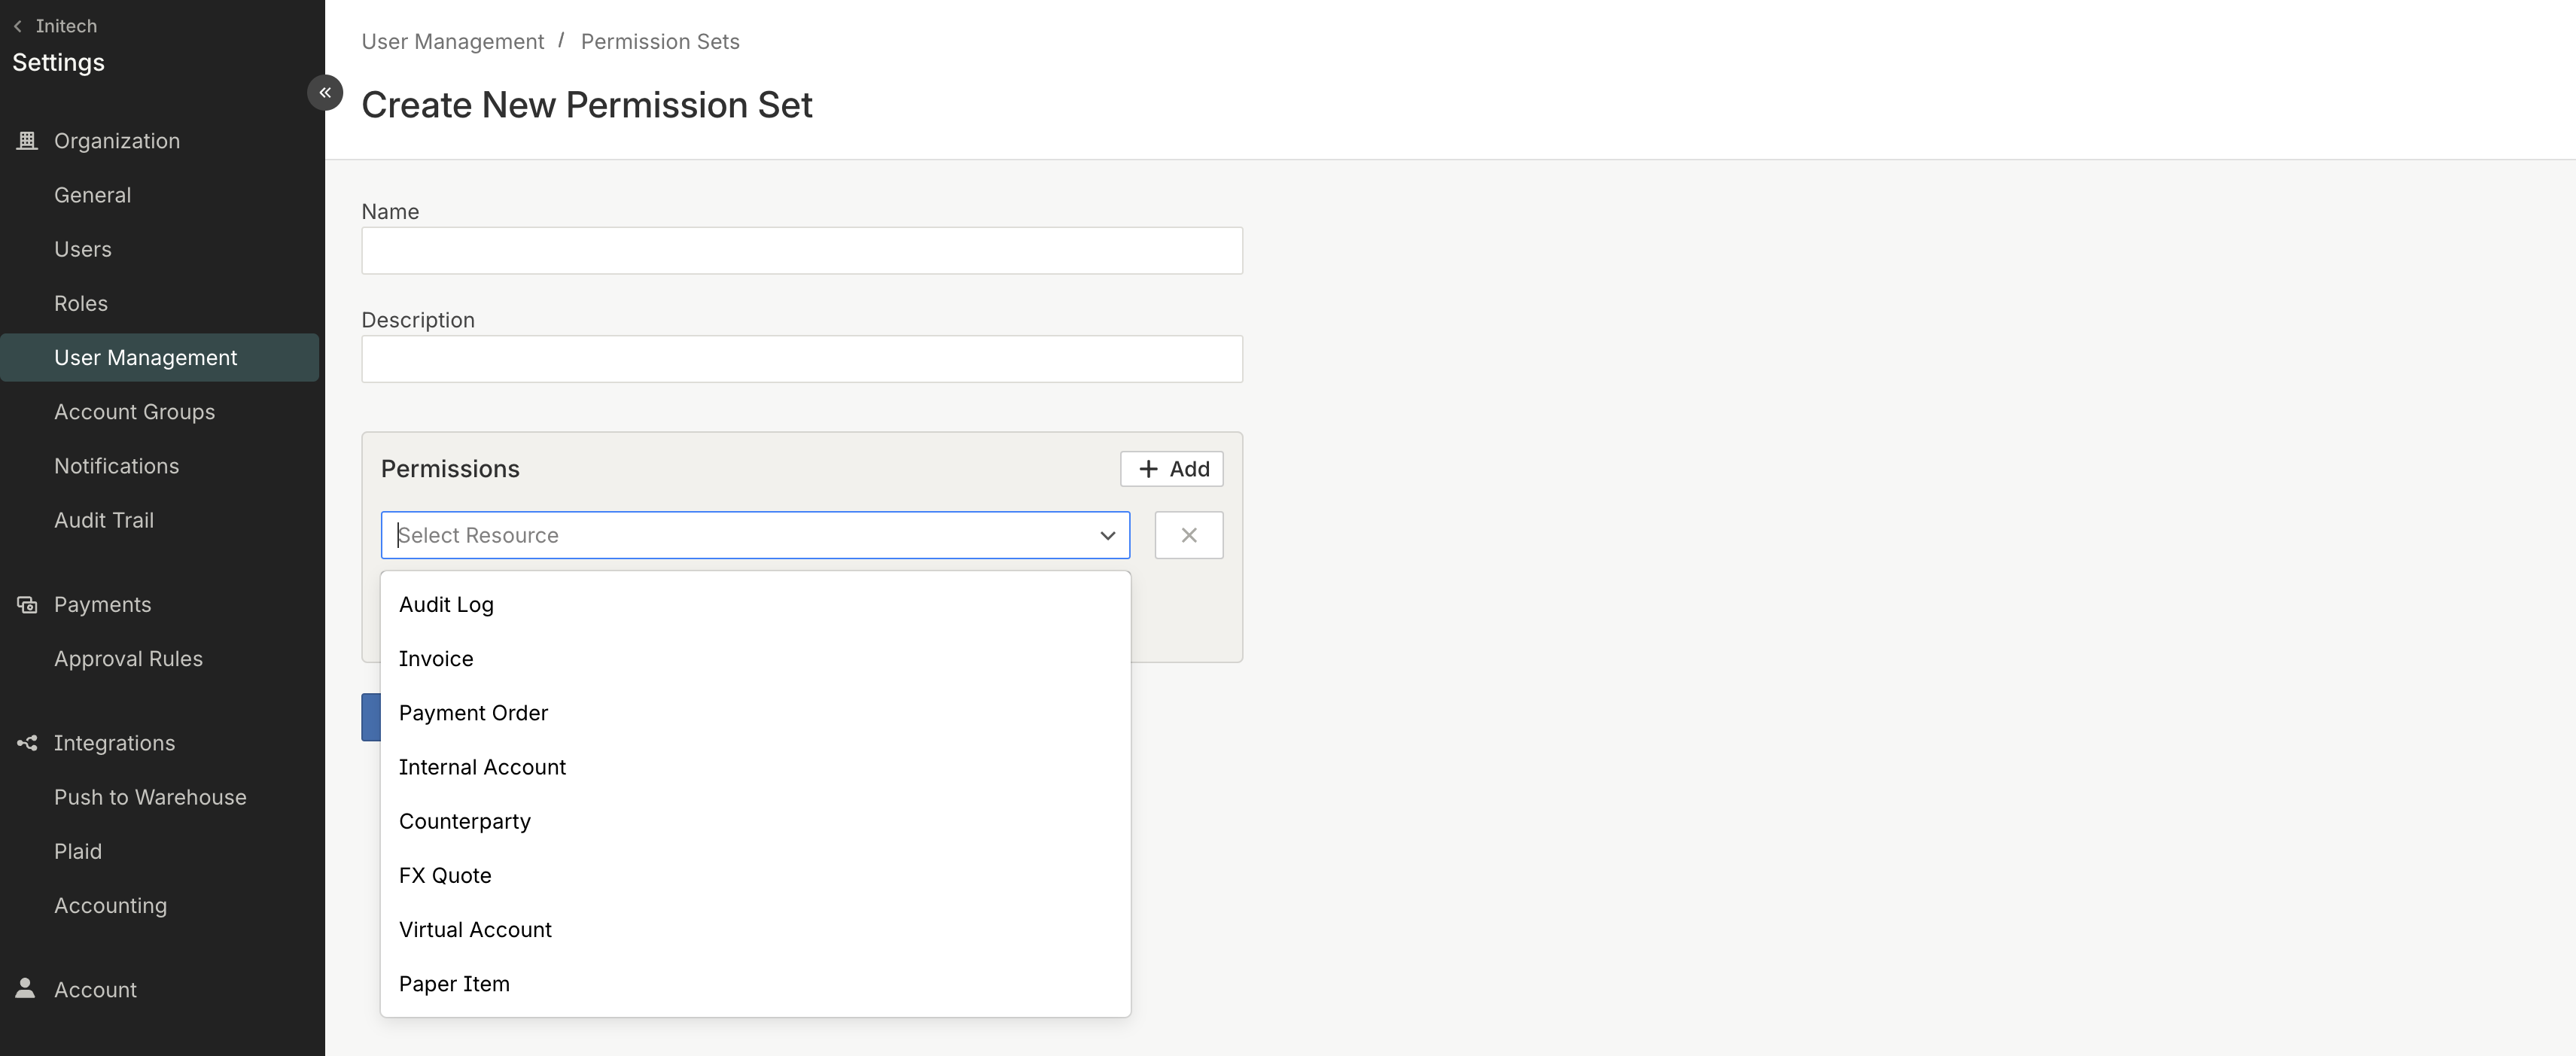
You can also create a custom Permission Set from scratch. Click the Create button to start, then select a name, add a description, and assign at least 1 permission to the set. Click save to complete the process.
Permission Set Configuration
When creating a new custom Permission Set or modifying a cloned one, you have multiple options for permissions:
-
Select a resource from the options (e.g., Internal Accounts).
-
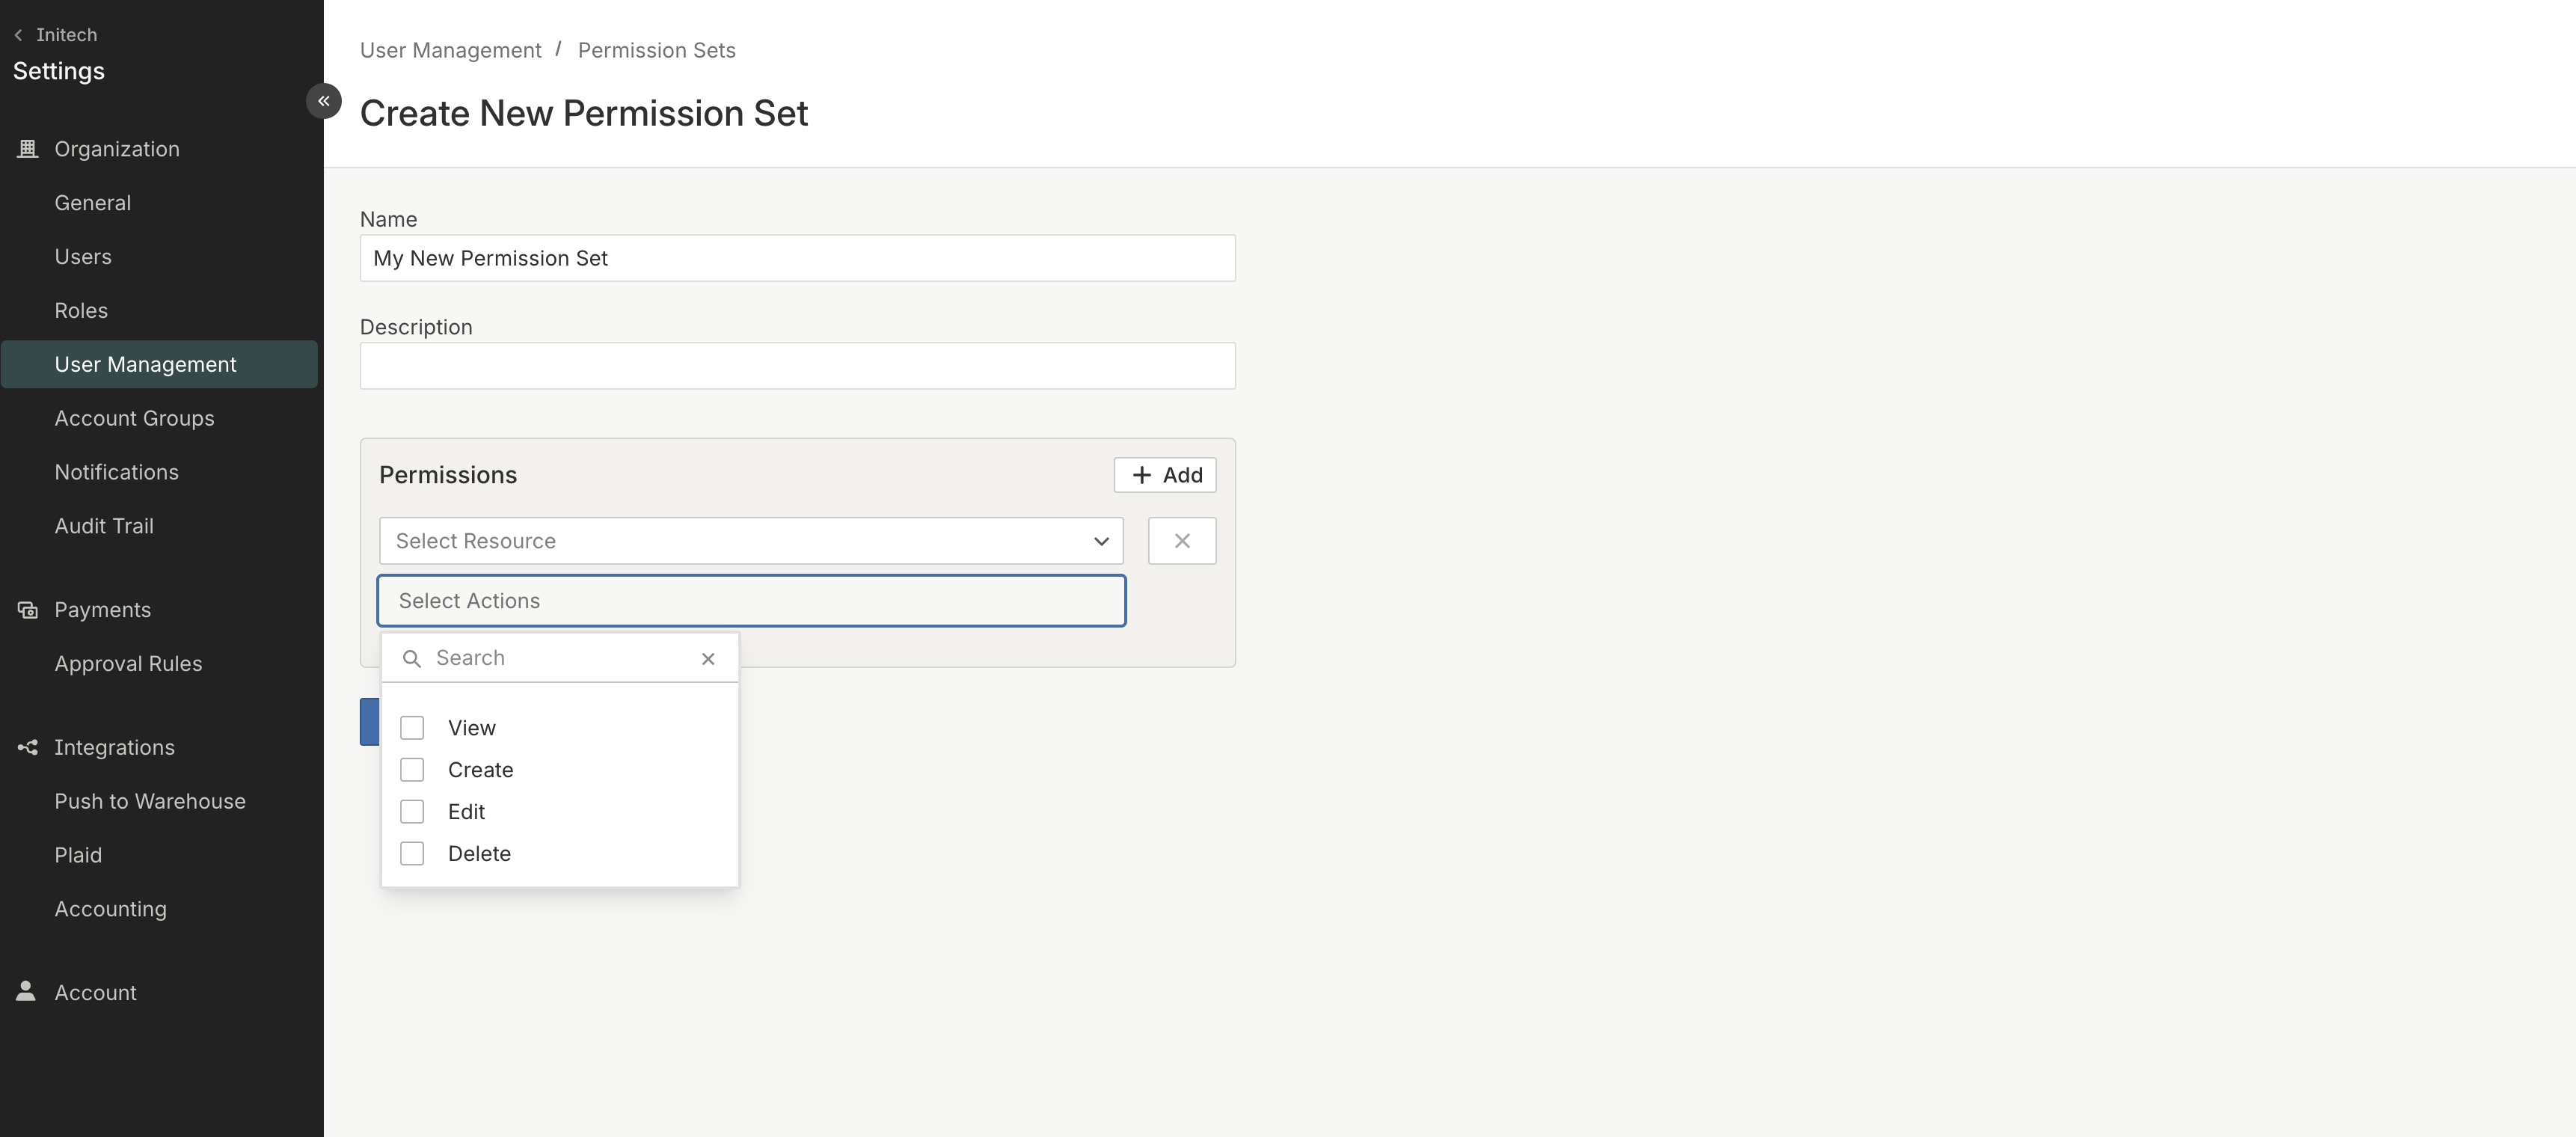
Select which types of actions are allowed on that resource.
- View: User can view the resource and all it’s corresponding attributes.
- Create: User can create a new resource.
- Edit: User can edit all fields on the resource.
- Delete: User can delete object.
Note: View is required for Create, Edit, or Delete.
-
(Optional) You can add constraints to the resource, limiting access to a subset of of those resources.
Each resource has its own set of filters. For example, Internal Accounts can be constrained by Internal Account ID, Currency, etc.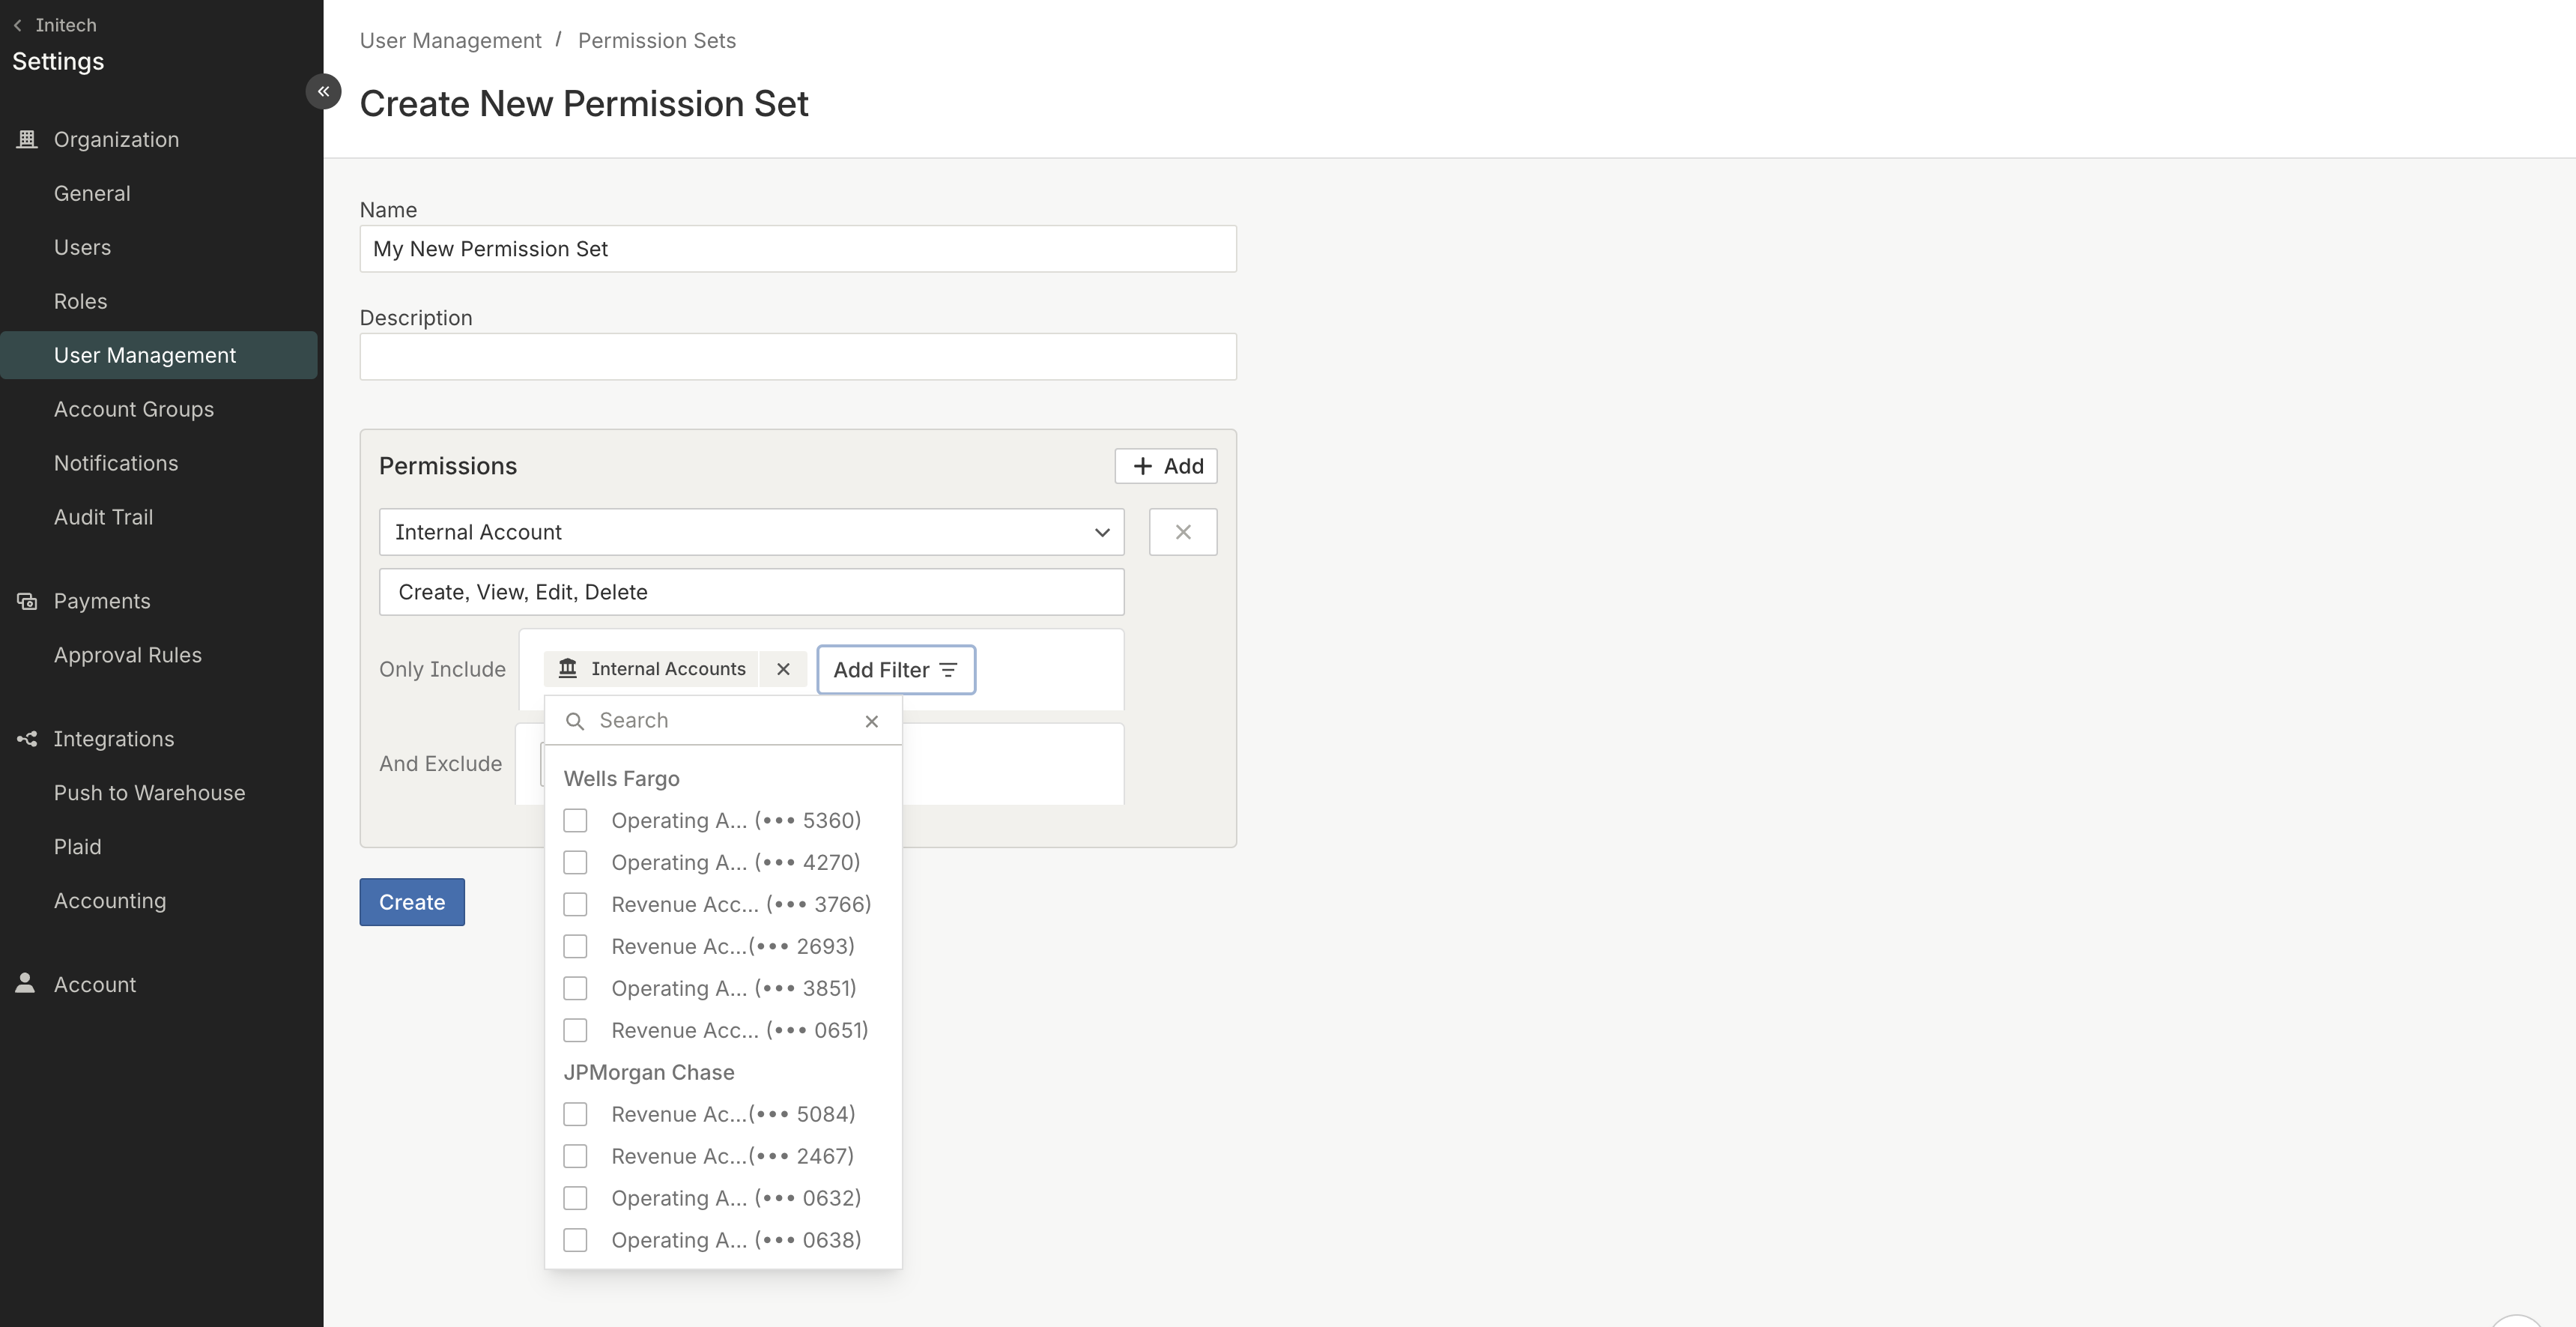
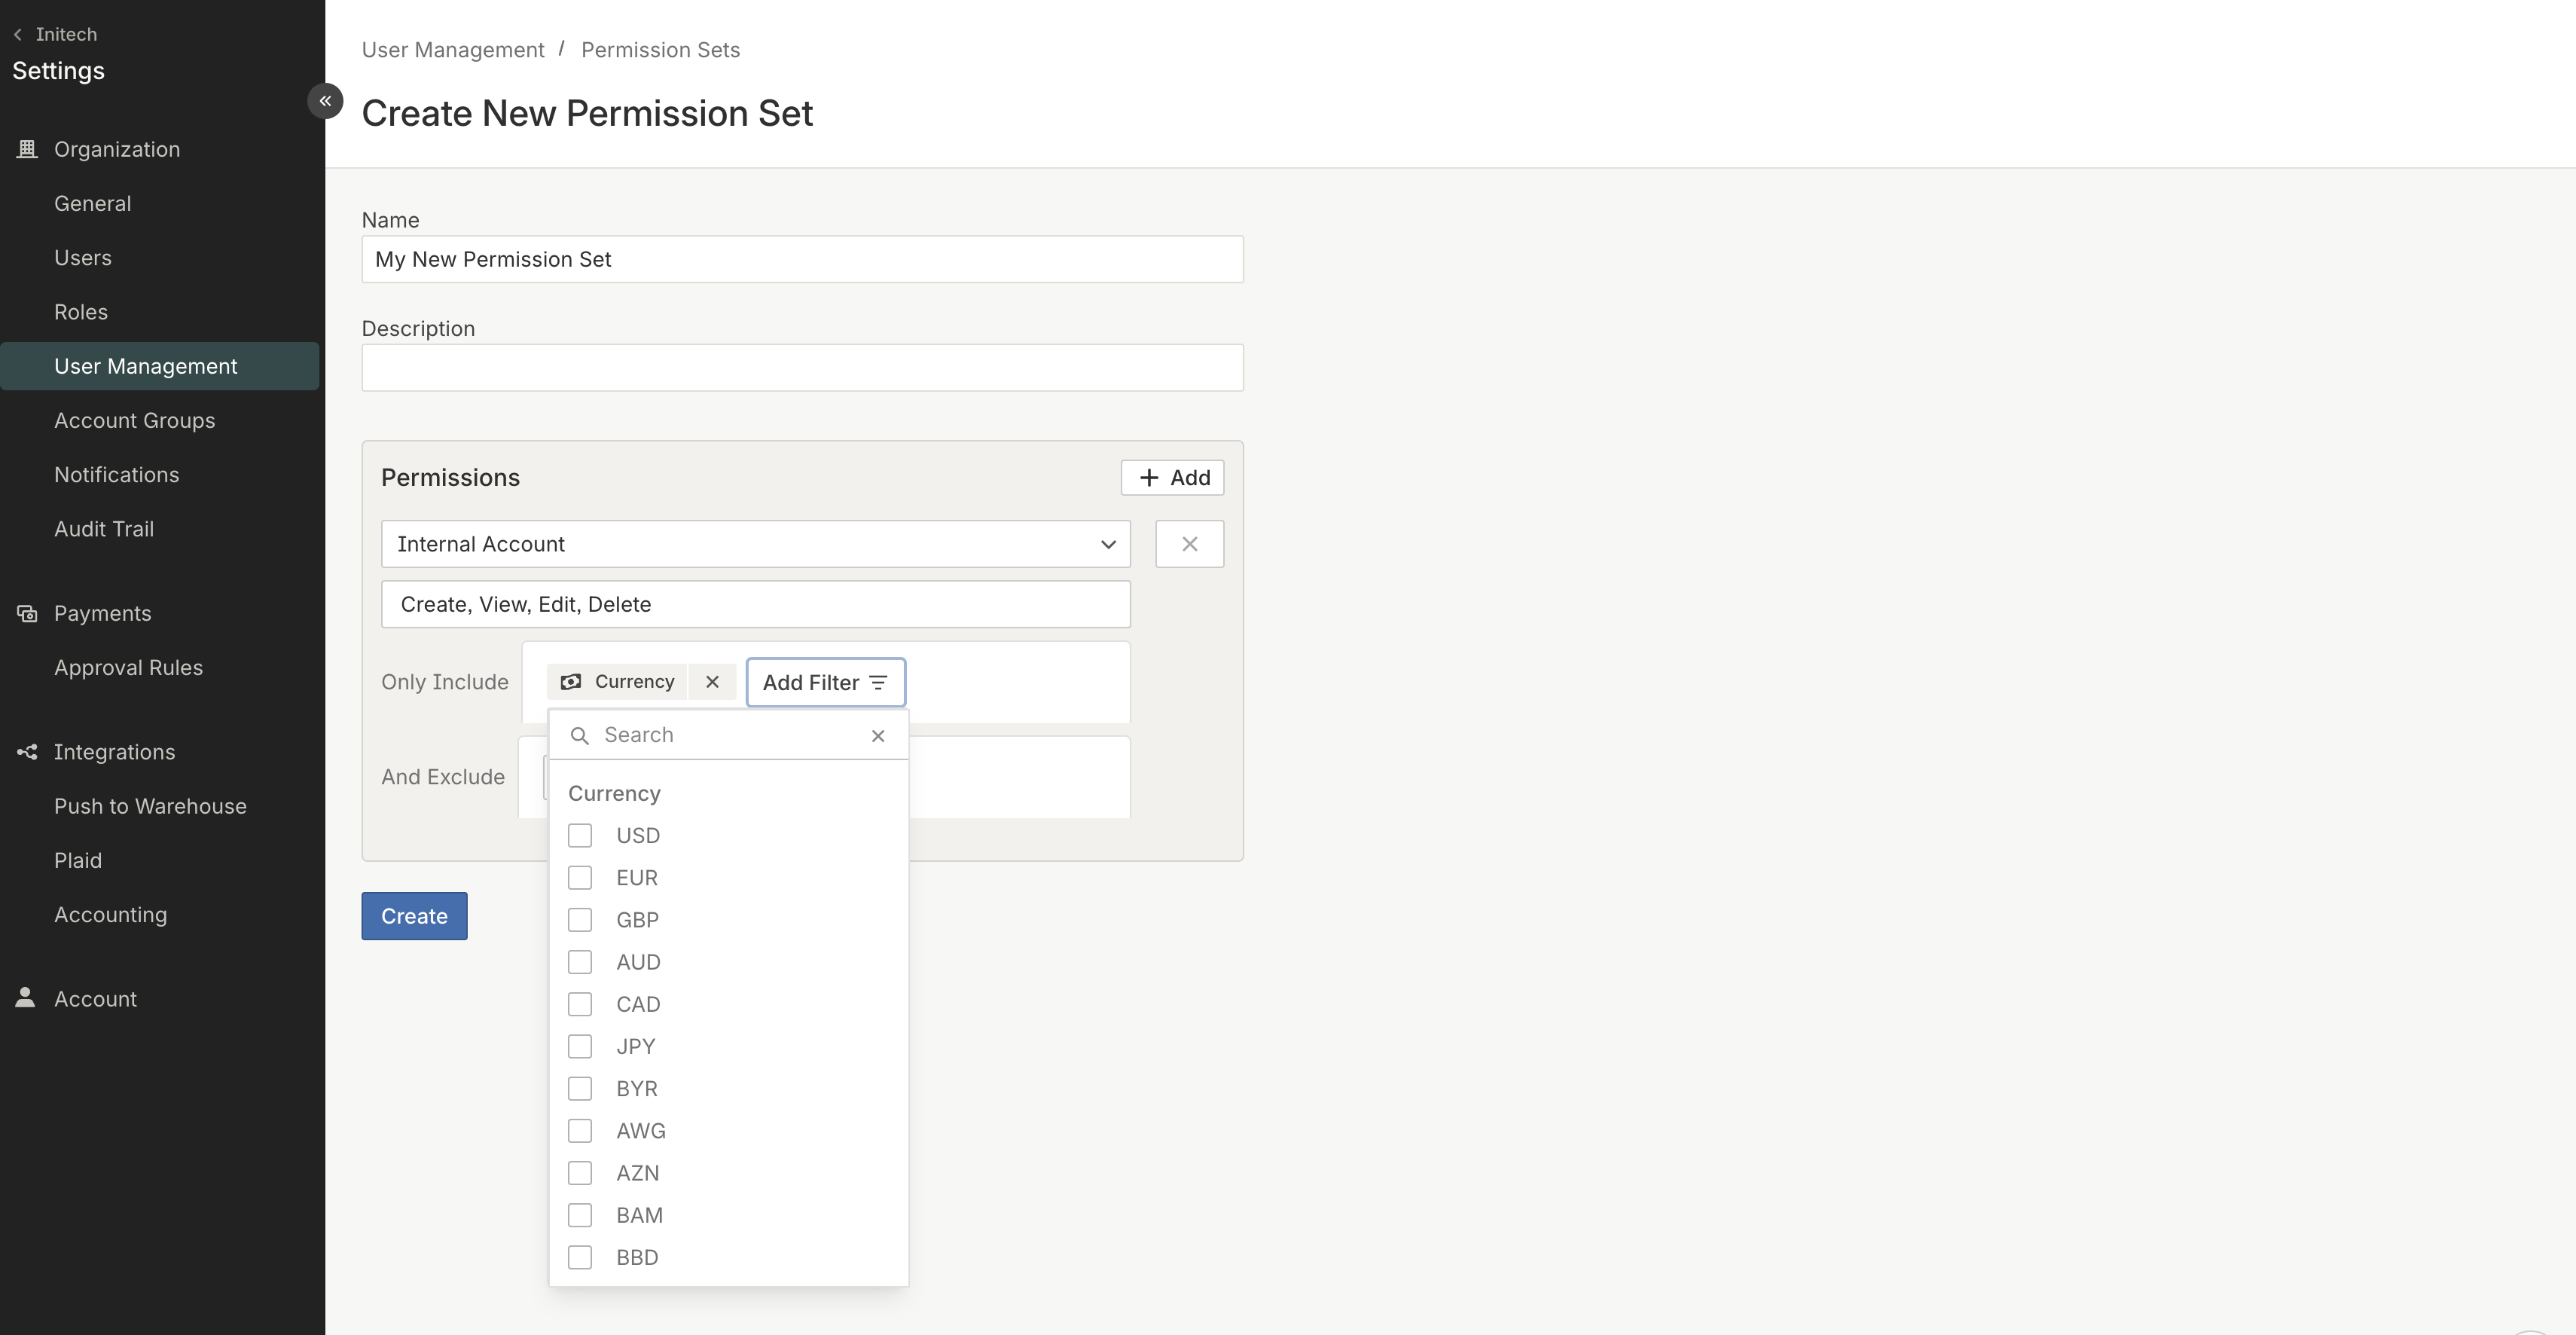
These filters can be done either using “includes” or “excludes":
- Includes: Resources that contain this attribute will be accessible by the users.
- Excludes: Resources that contain this attribute will not be accessible to the user.
If there are multiple conditions, the overlap of these conditions is the authorized space for the user.
Constraints apply only to the resource selected, for example, if you constrain the Internal Accounts resource to a specific Internal Account ID that will not apply to other resources. -
You can also select a "Permission Set Wide Constraint". Adding one of these permissions will restrict all resources in that permission set that can be constrained by that object, e.g internal accounts.
- Currently, Internal Accounts is the only option for this type of permission and applies to the following resources if and when they are included in the Permission Set : Internal Accounts, Payment Orders, FX Quotes, Virtual Accounts, Sweep Rules, Incoming Payment Details, Returns, Transactions, Expected Payments
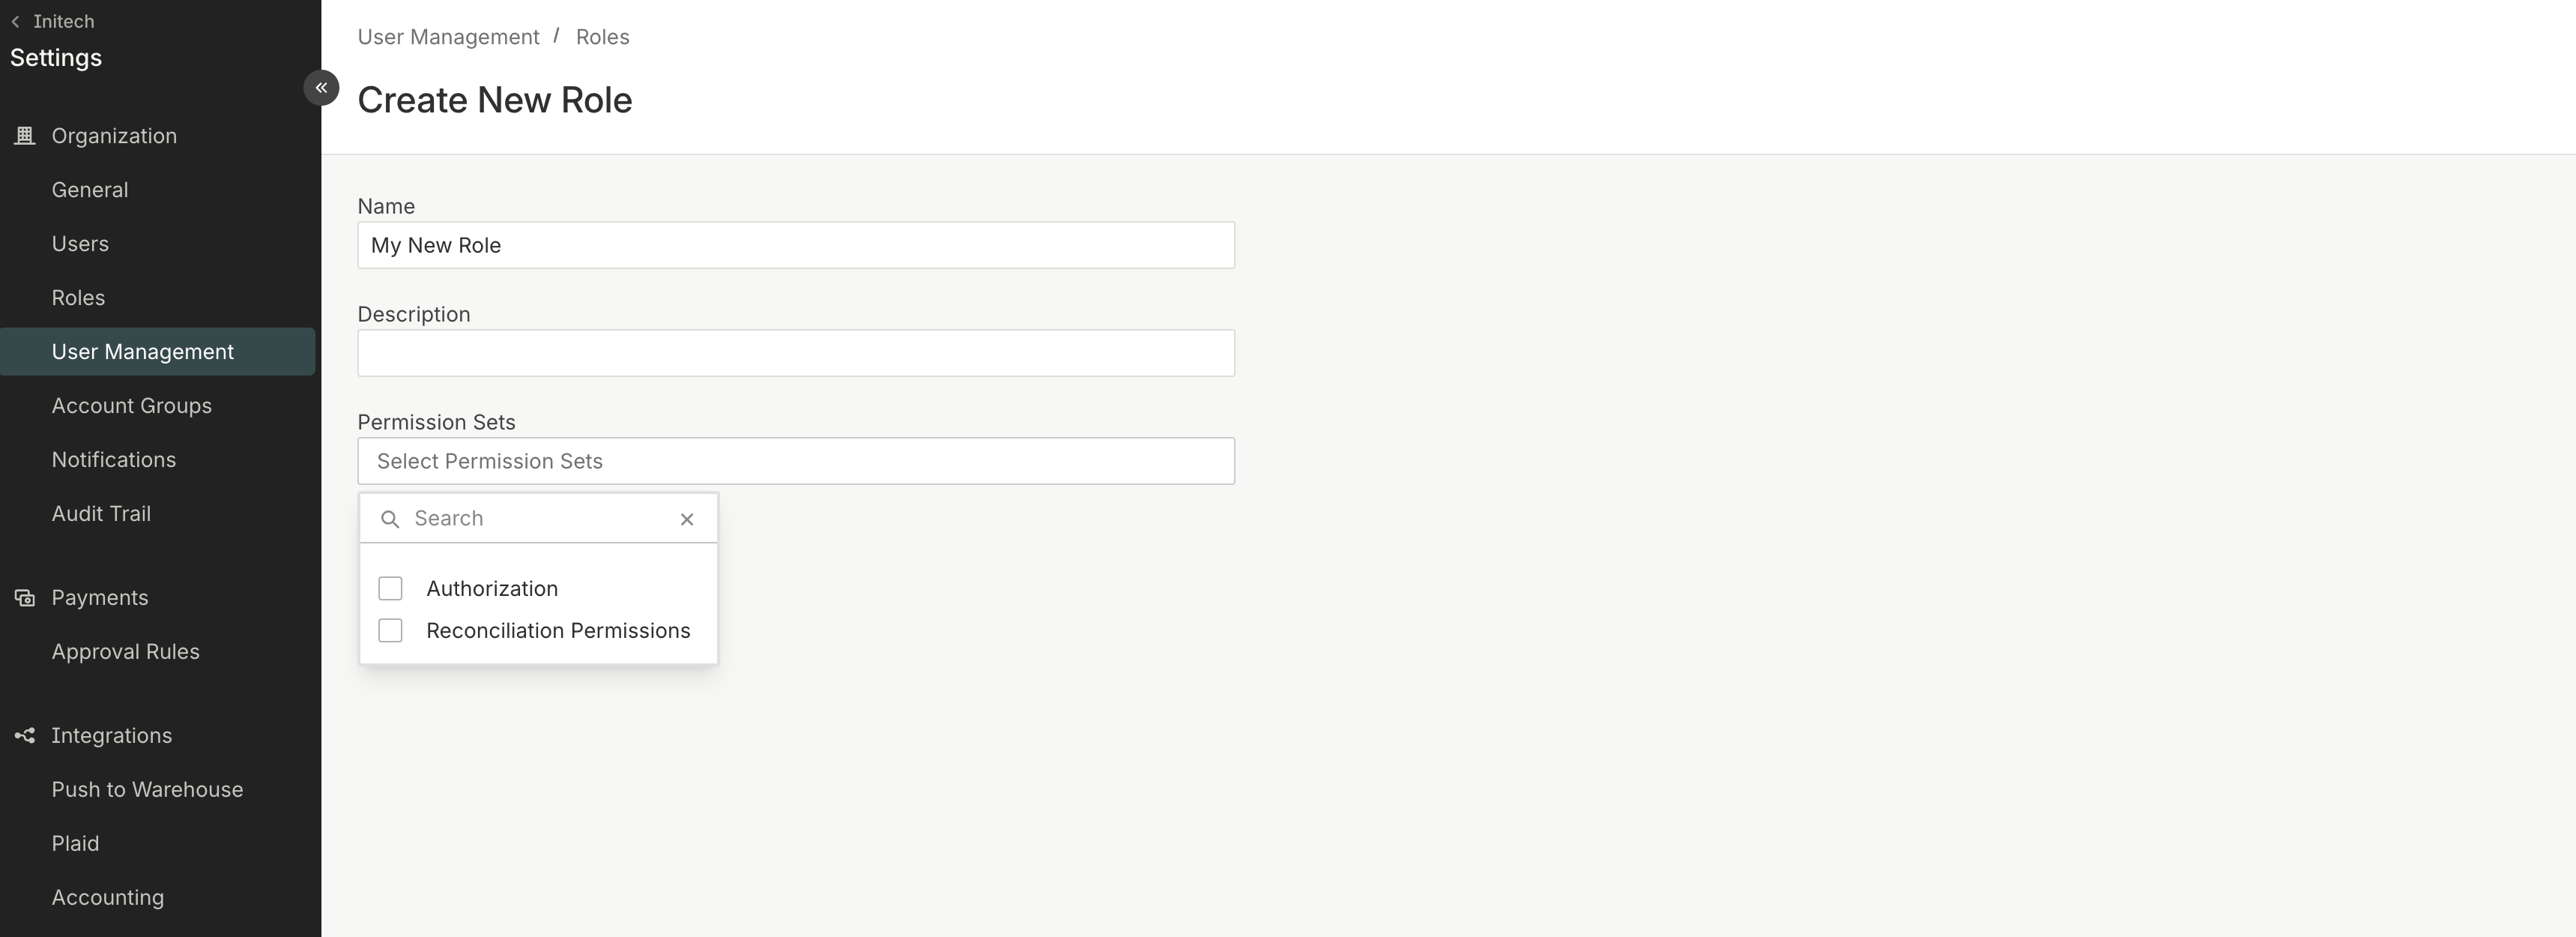
How to create a new Role
Go to the “Roles” Tab in the User Management section of the application.
Click Create, select a name, and add a description if desired. Then add at least one permission set (up to 10 can be added to each Role).
You can also create a Role by cloning an existing Role and then adding or removing Permission Sets as desired.
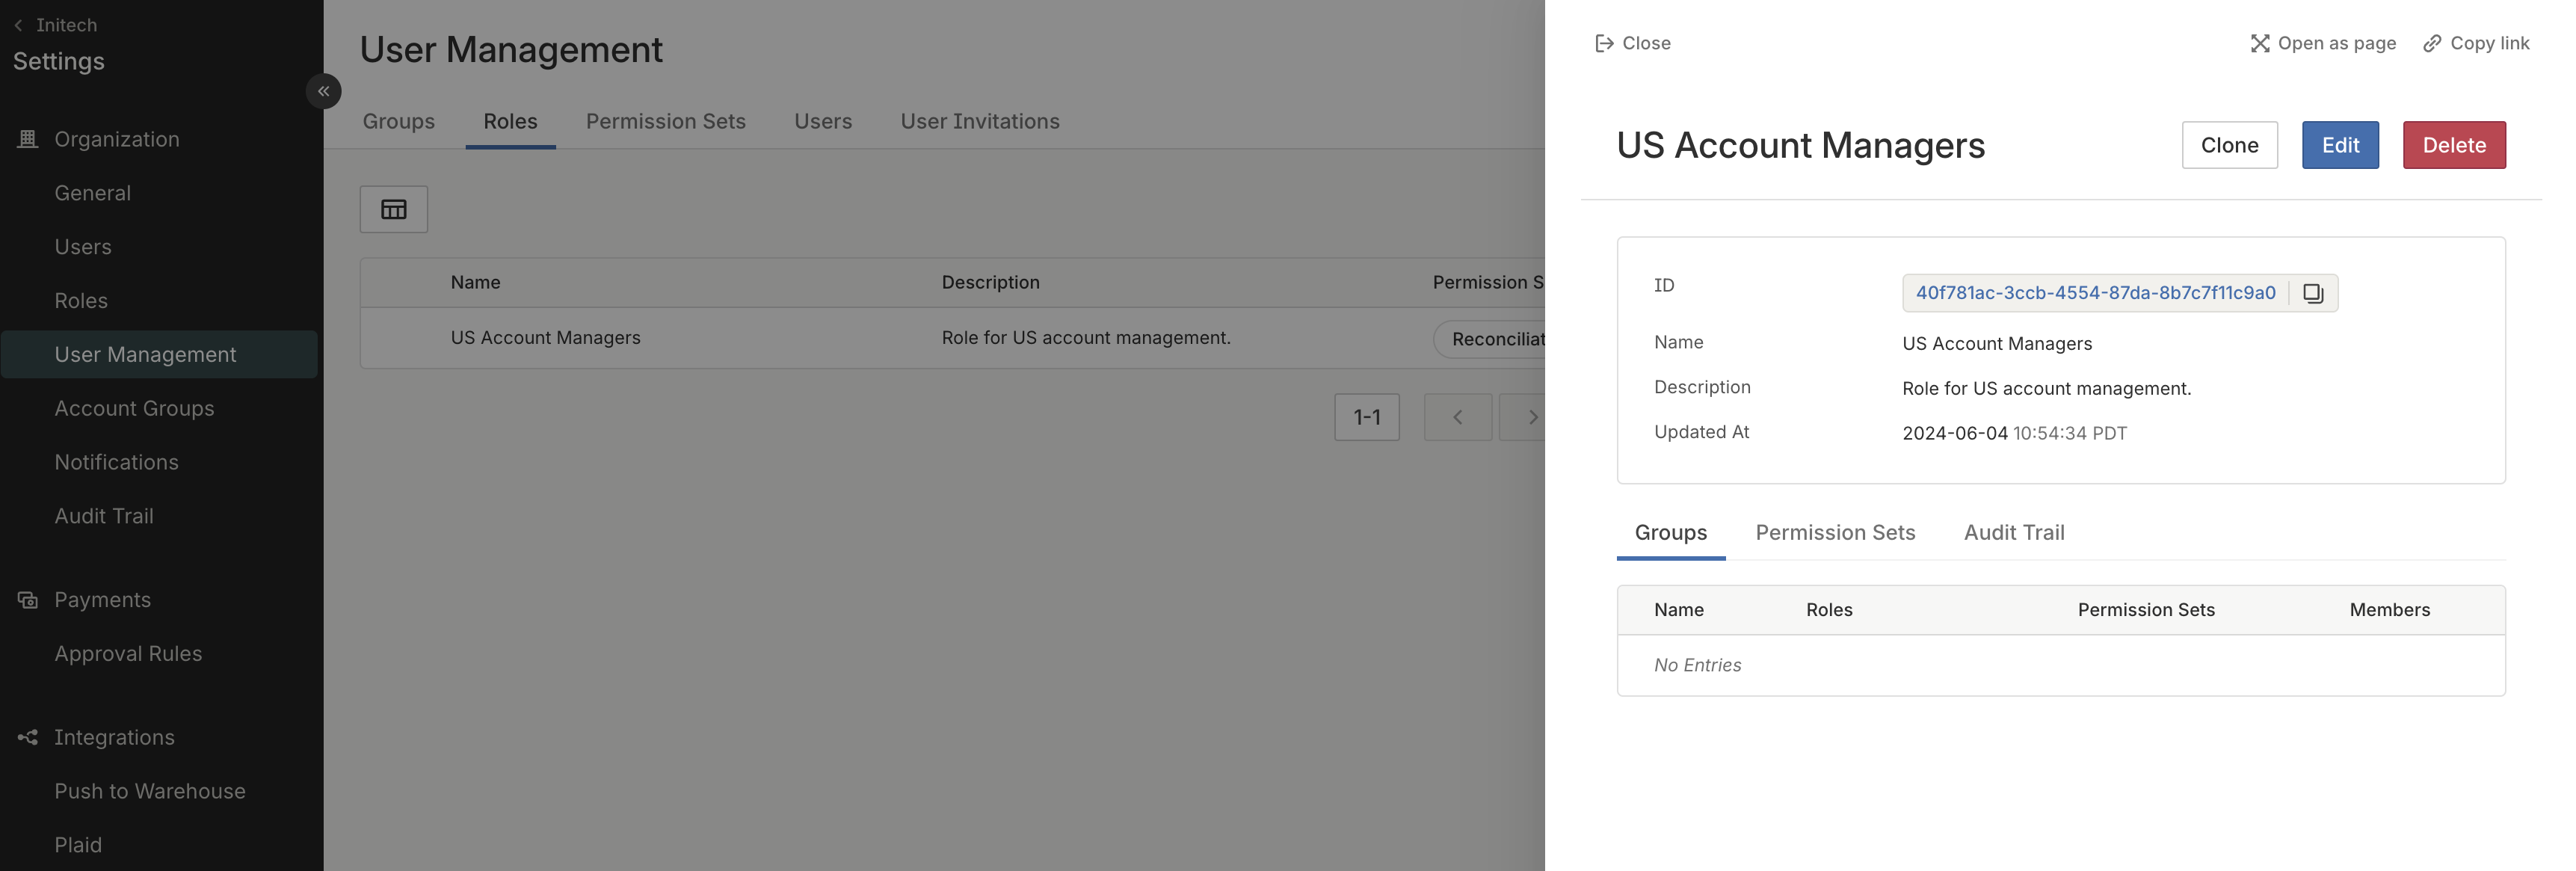
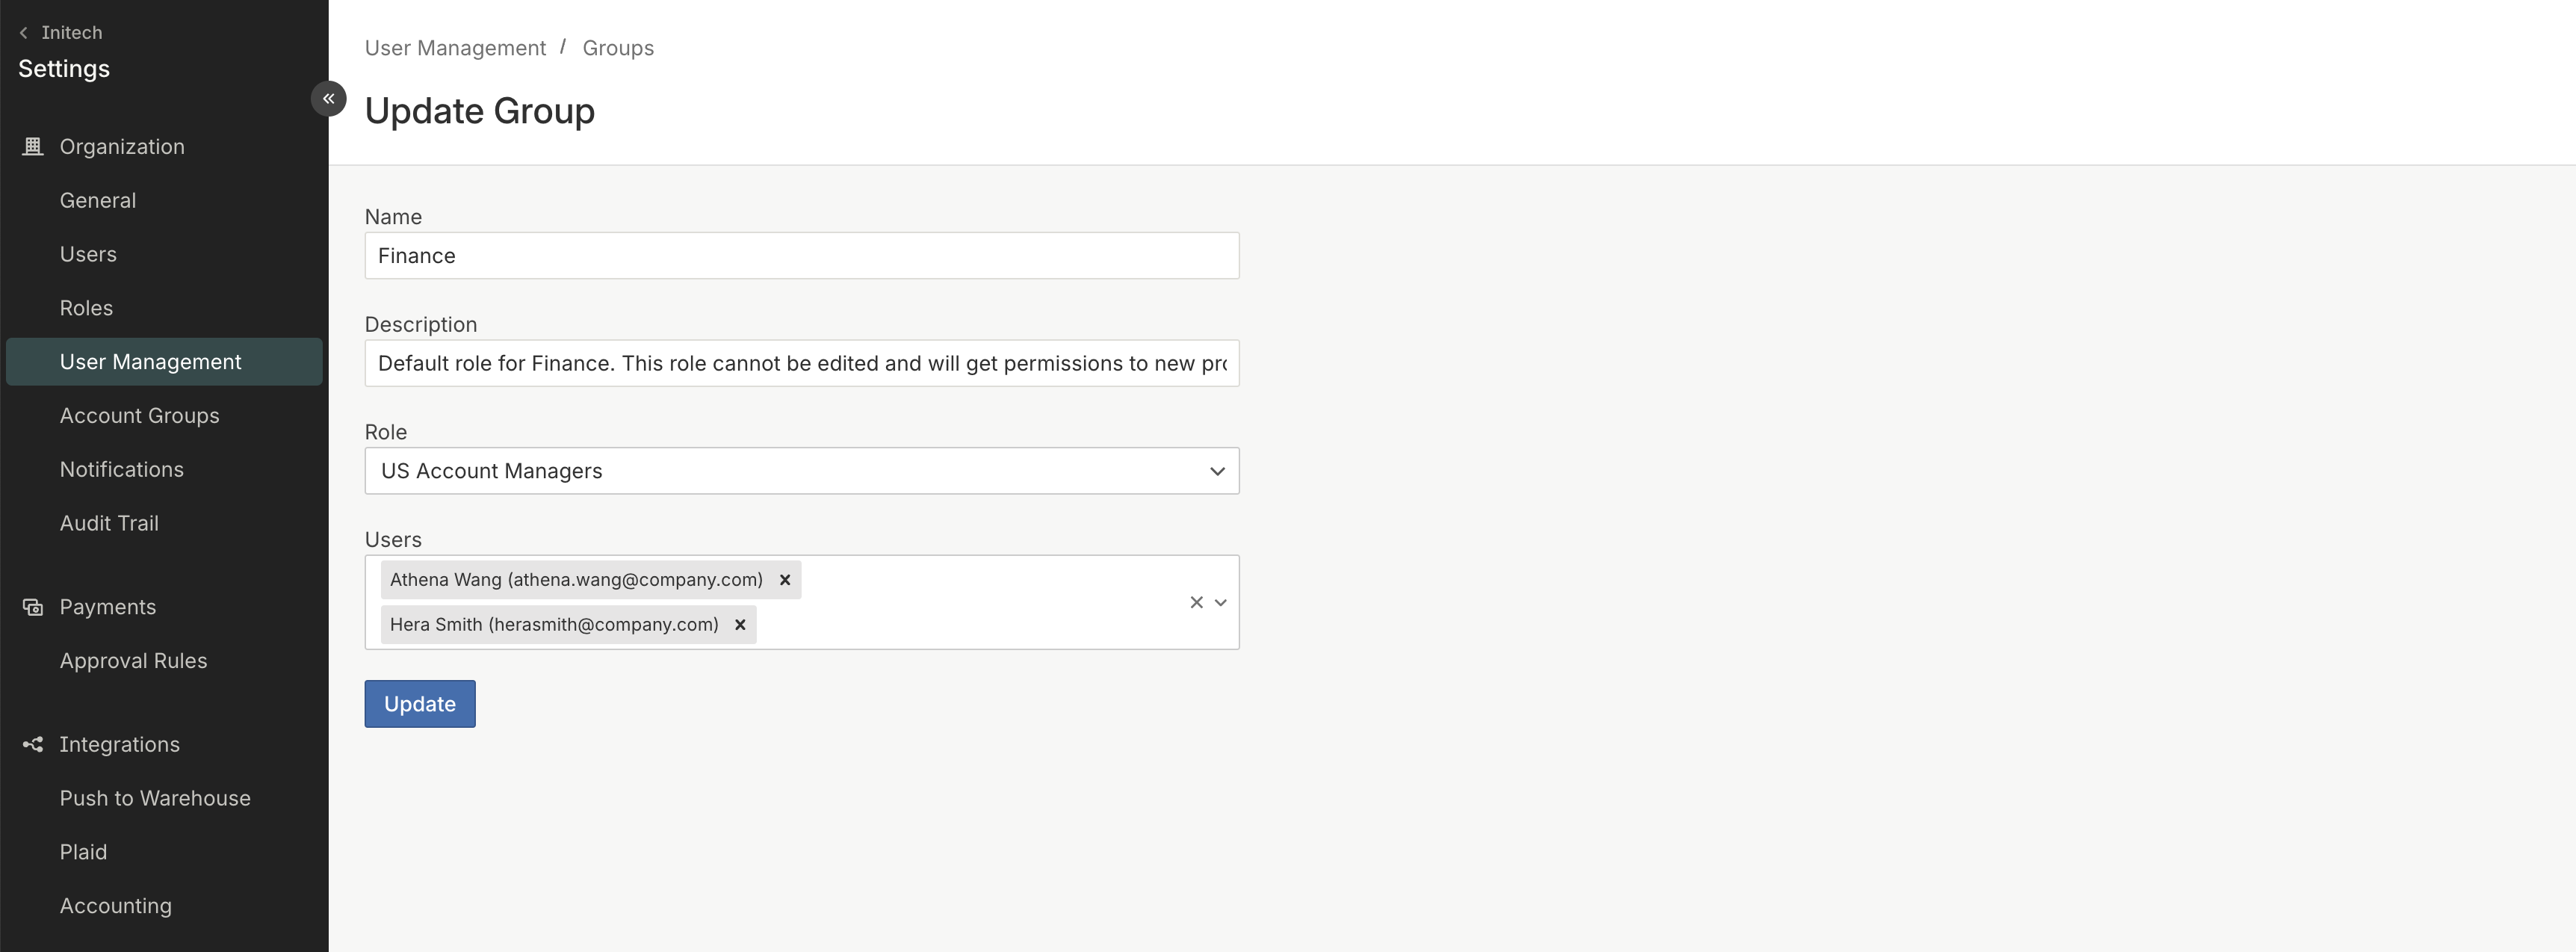
How to assign a Role to a Group
Go to the Groups tab and select the relevant group. Click on “Edit” and select which role you would like to update the assignment to. You can also assign Groups a Role during the wizard set up.
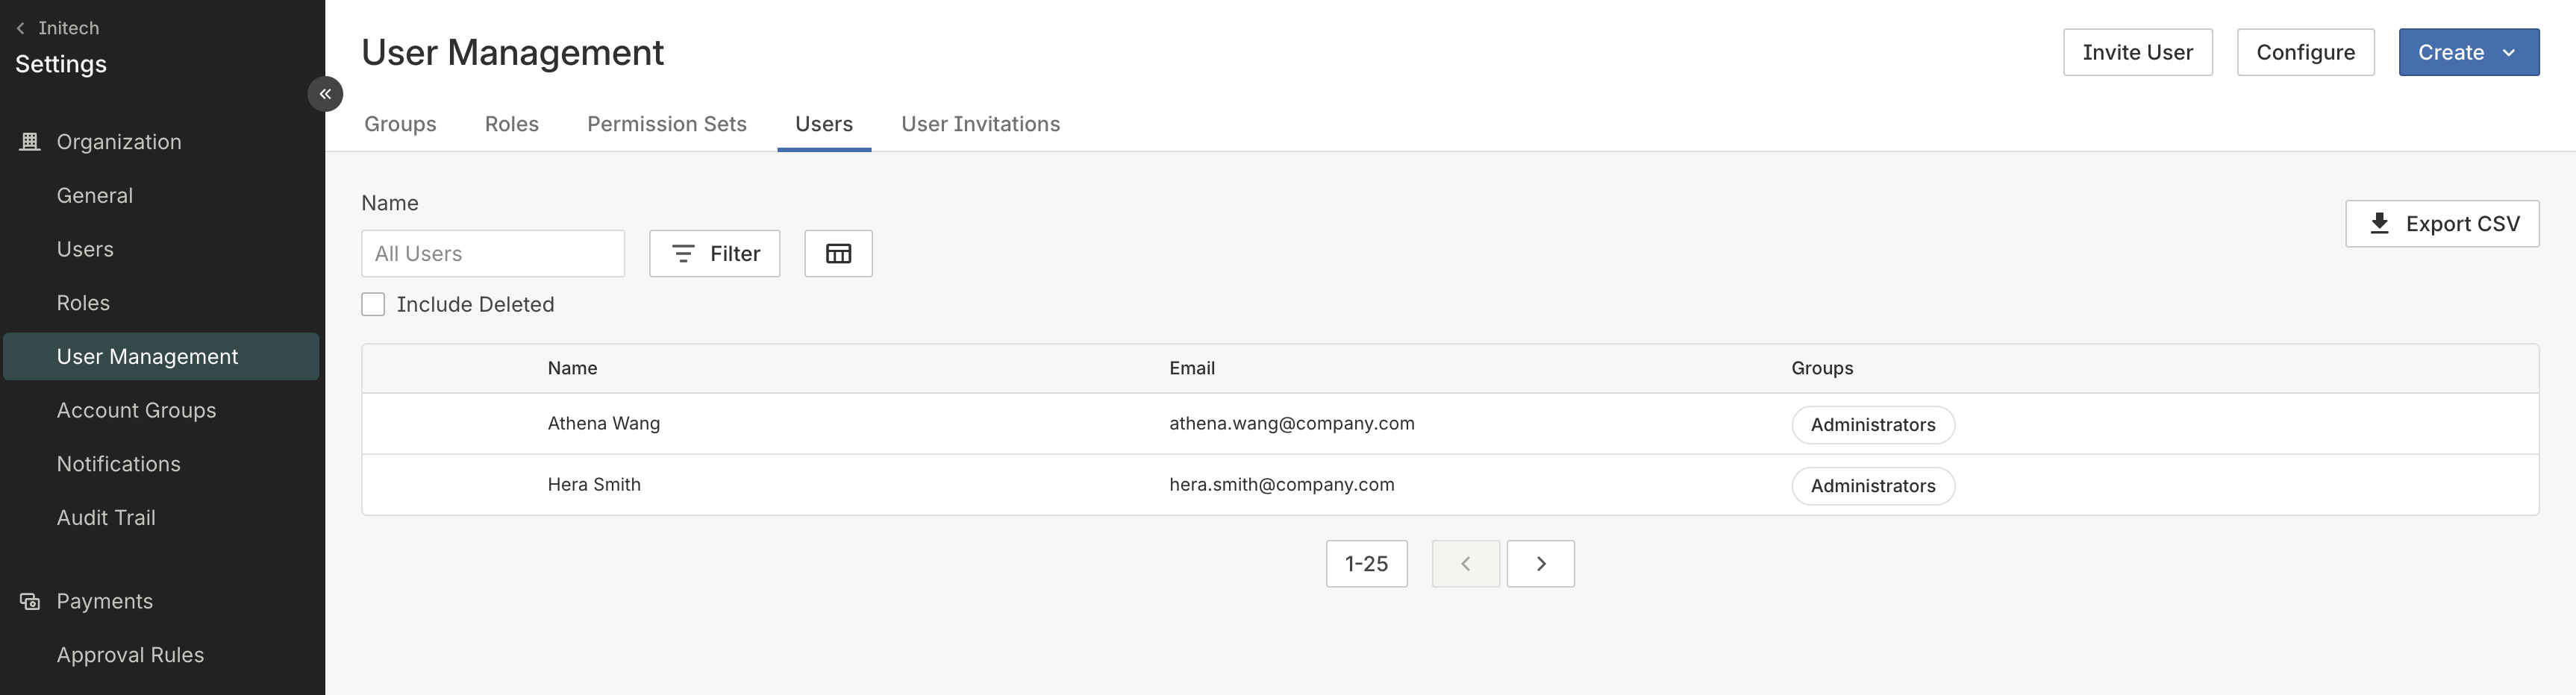
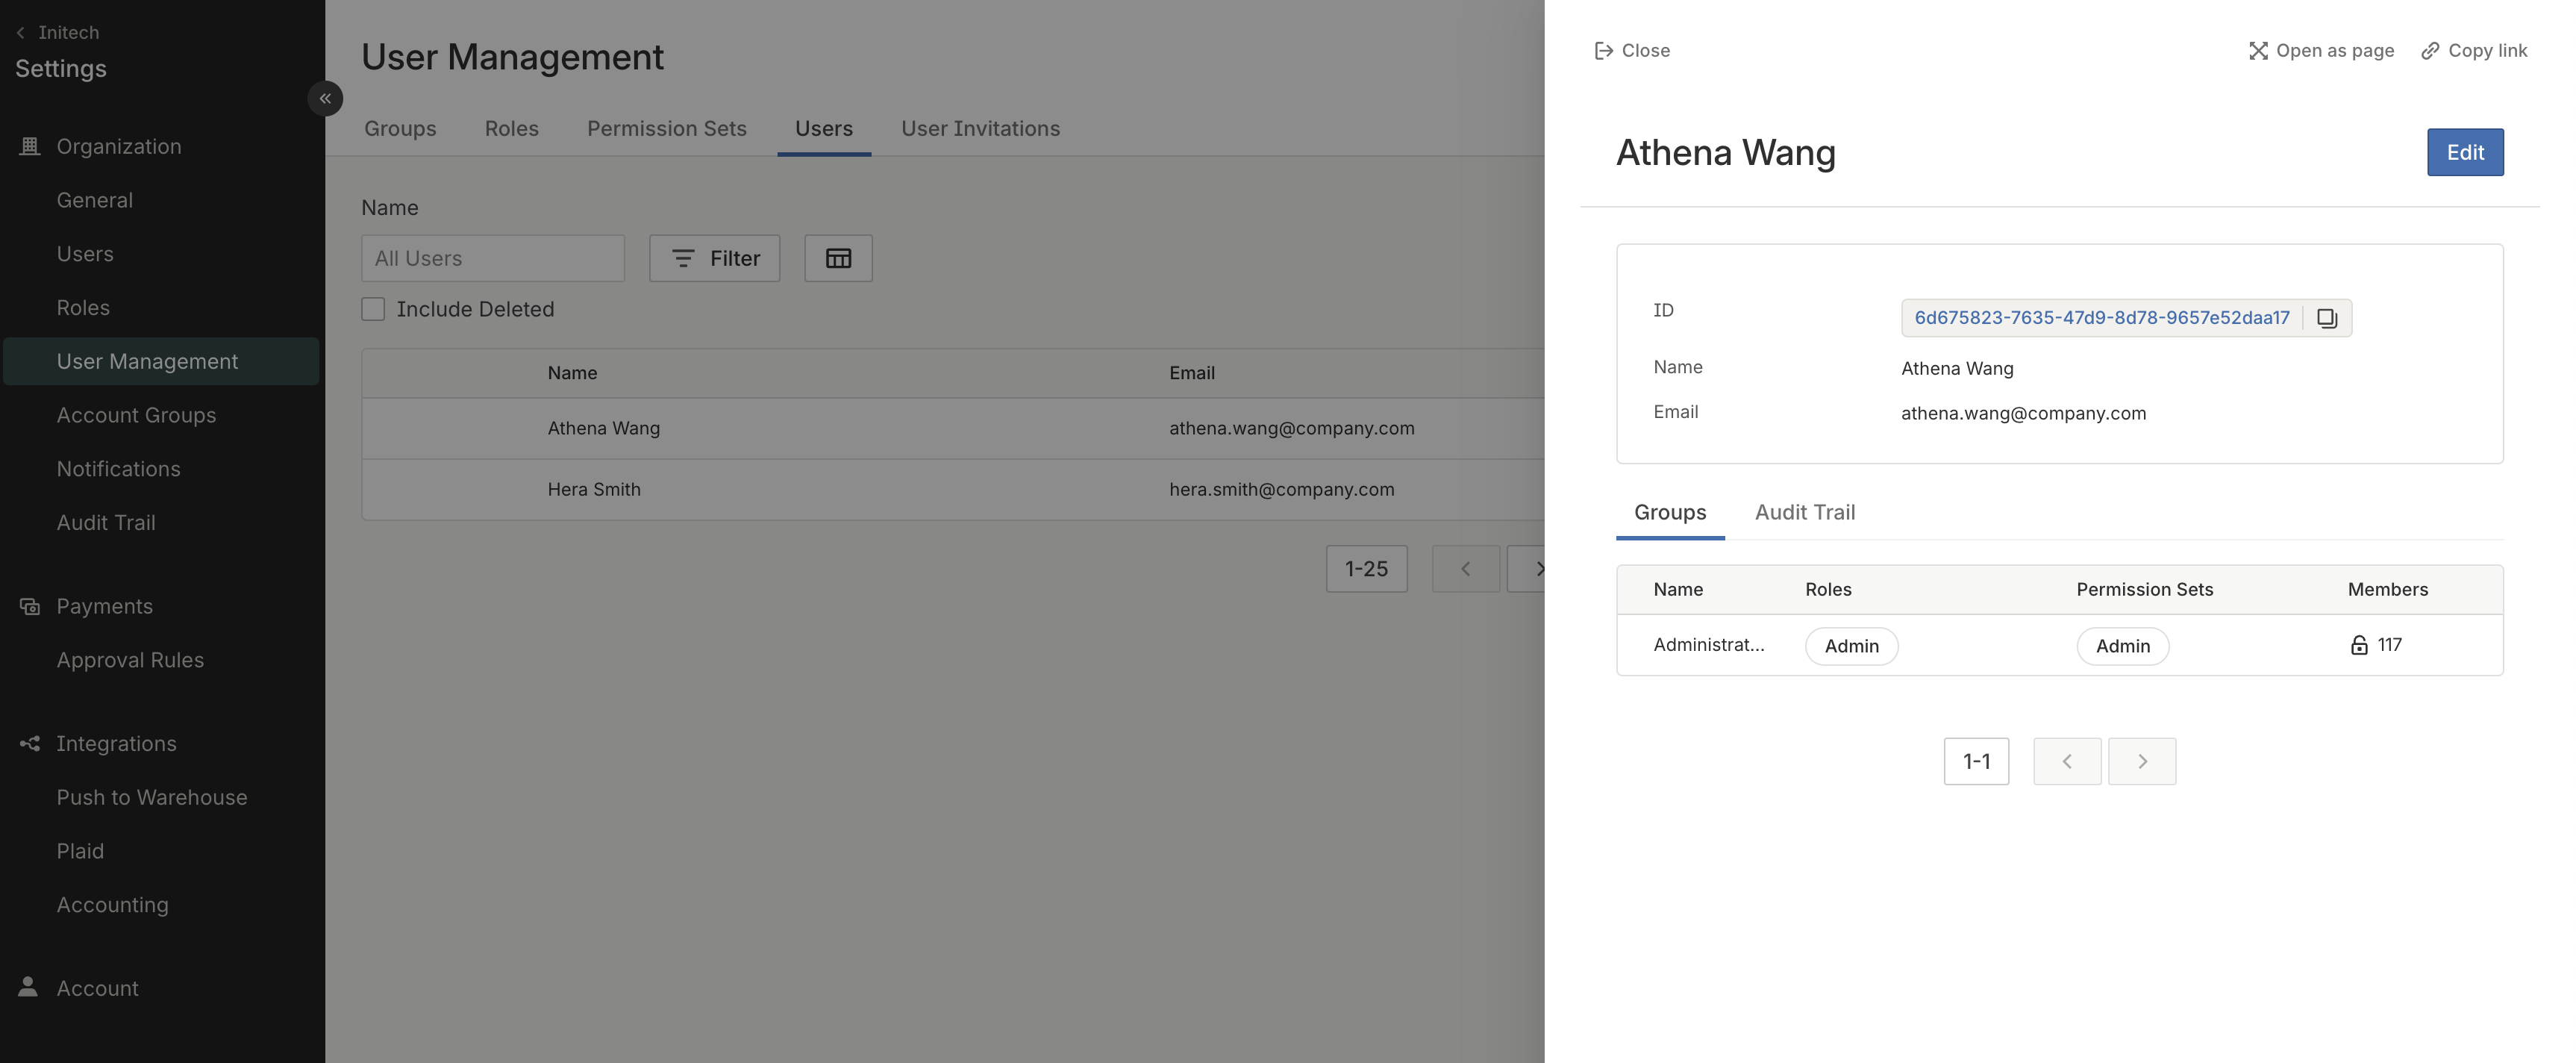
Review a User's Permissions
In order to understand an individual user's Permissions, go to the User Management section of the application and click the Users tab. Click into the individual user to view their Permissions.
Updated 8 months ago