Enable Multi-Factor Authentication
How to enable MFA for a user.
To turn on Multi-Factor Authentication for individual users
- Navigate to "Settings > Users" from the dashboard sidebar
- Search for the user by name or email and open their profile
- From the 'Actions' dropdown menu, select 'Edit'
- Check the Require multi-factor authentication box
- Click 'Update User' to finish
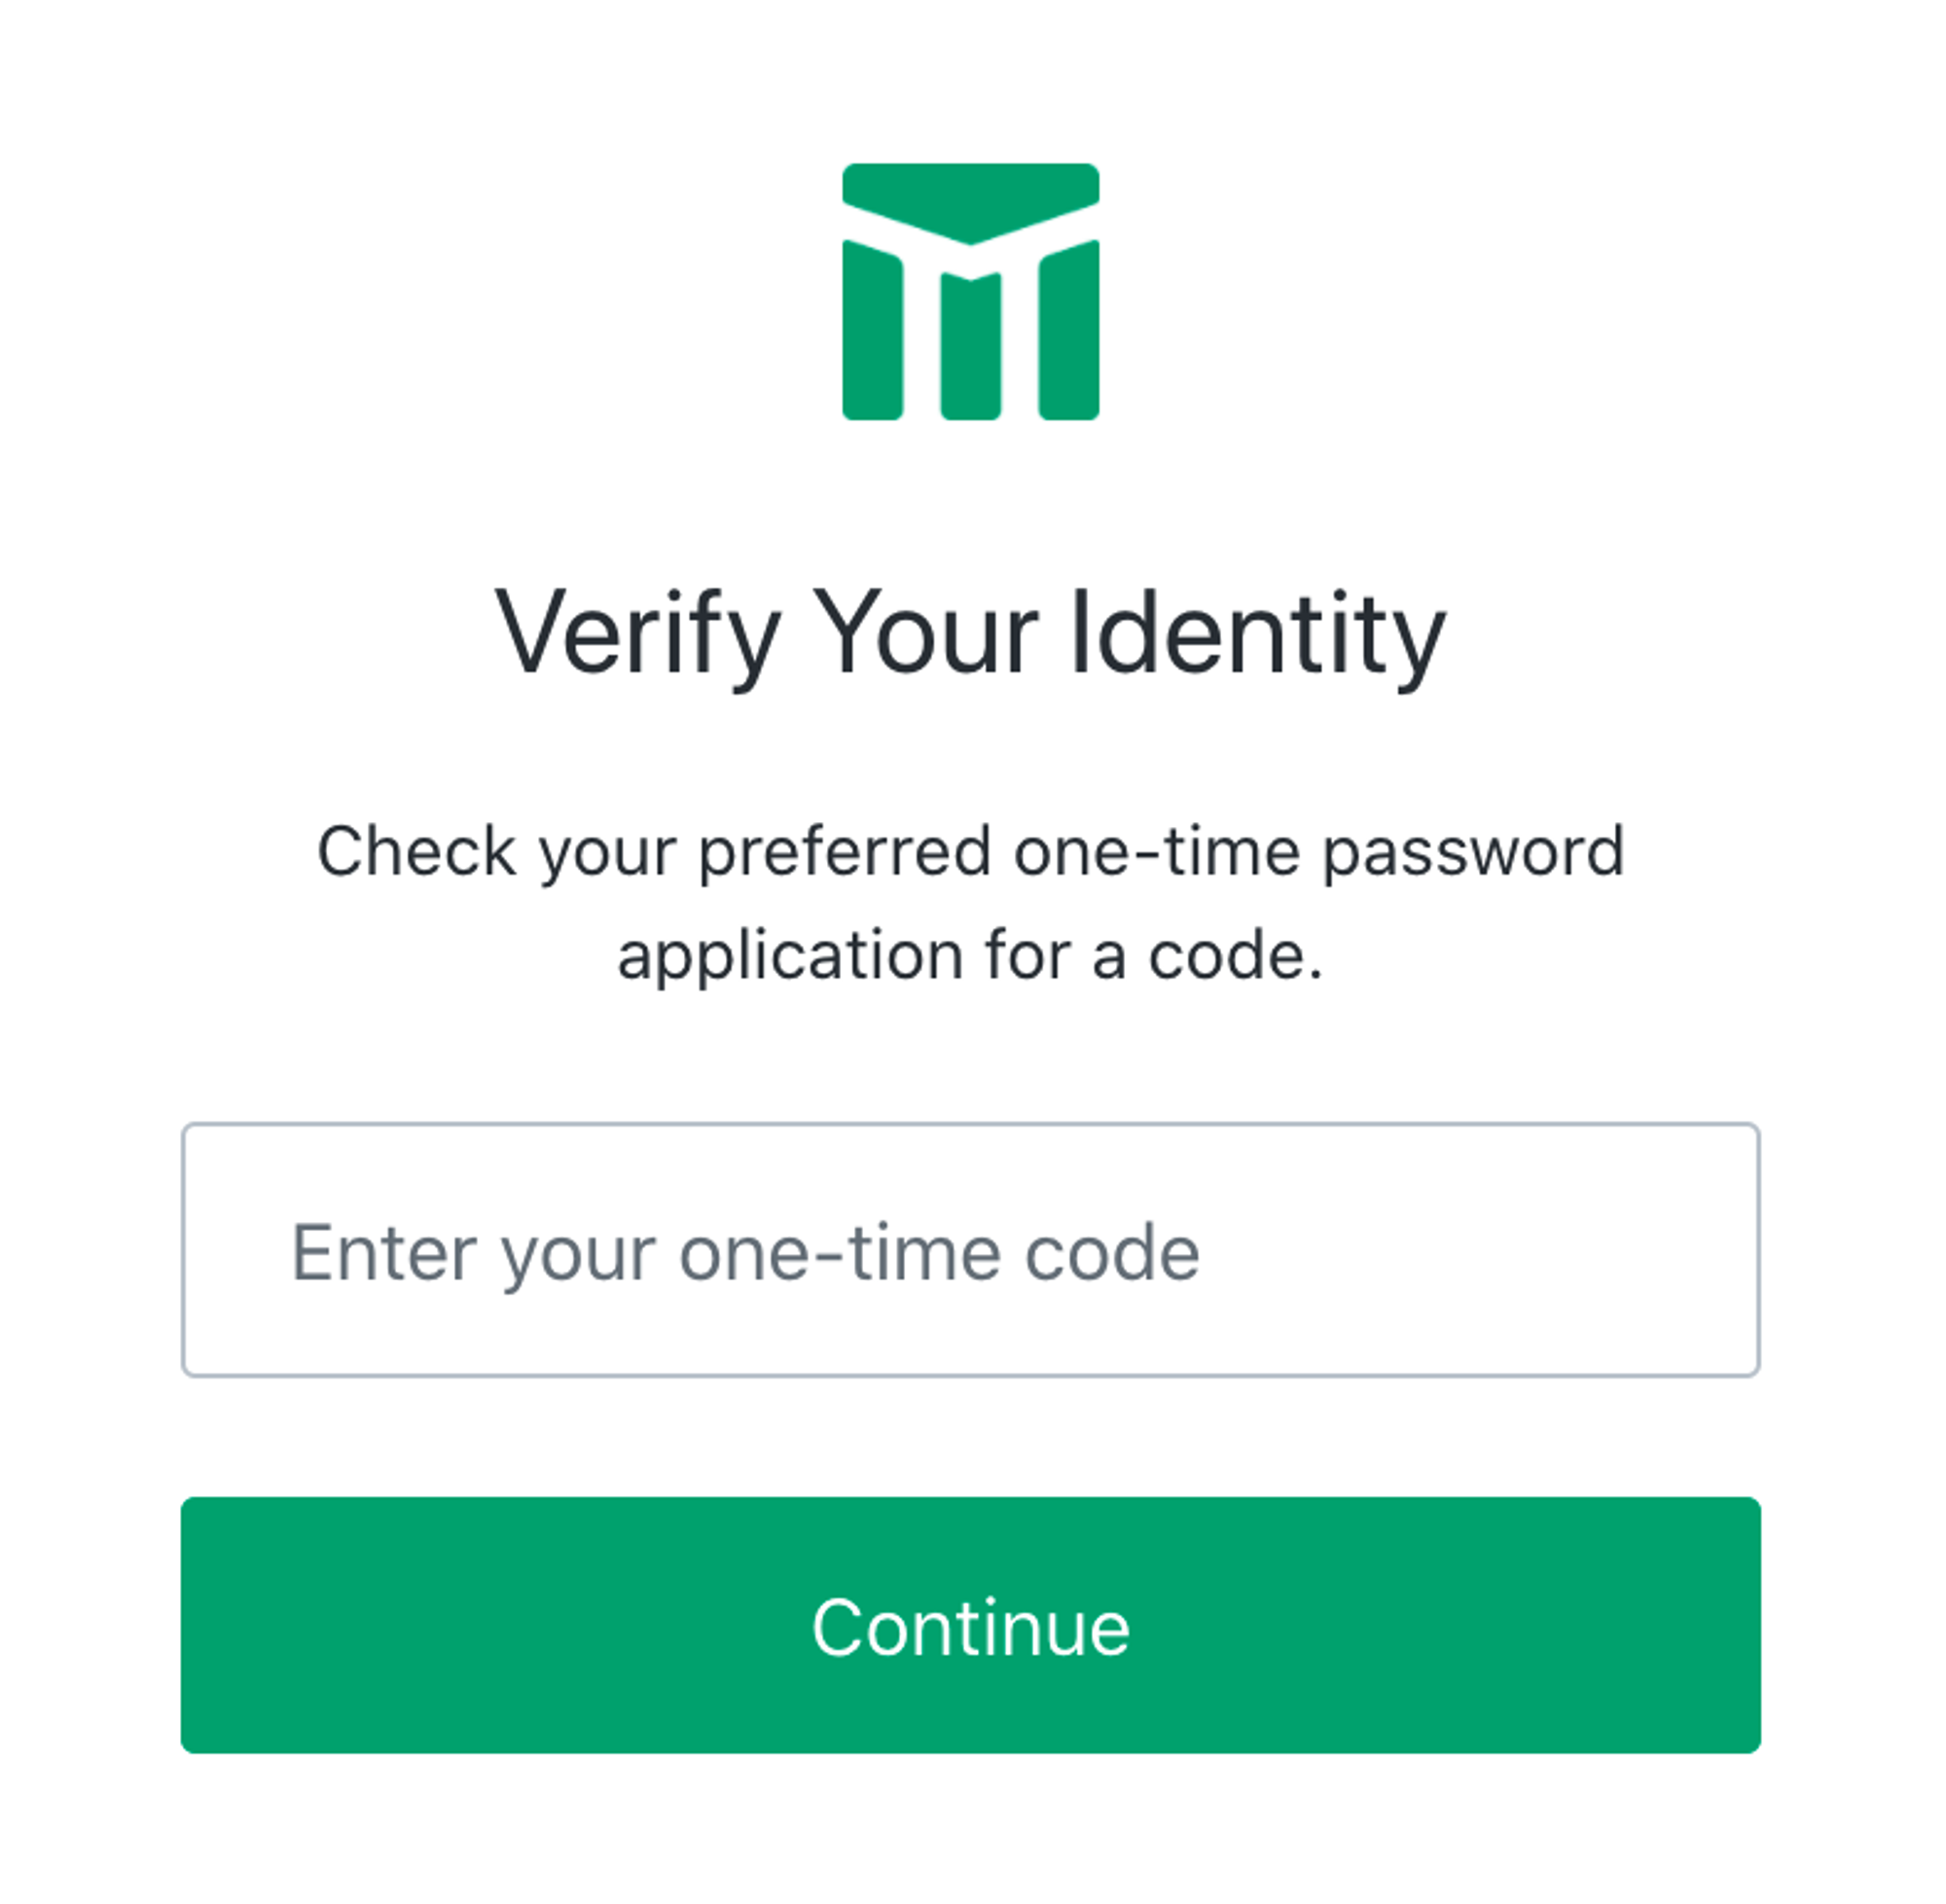
After turning on MFA for a user, the next time the user logs in, they will enroll in a second factor. Then in subsequent logins, the user will be prompted to enter their 2FA at login.
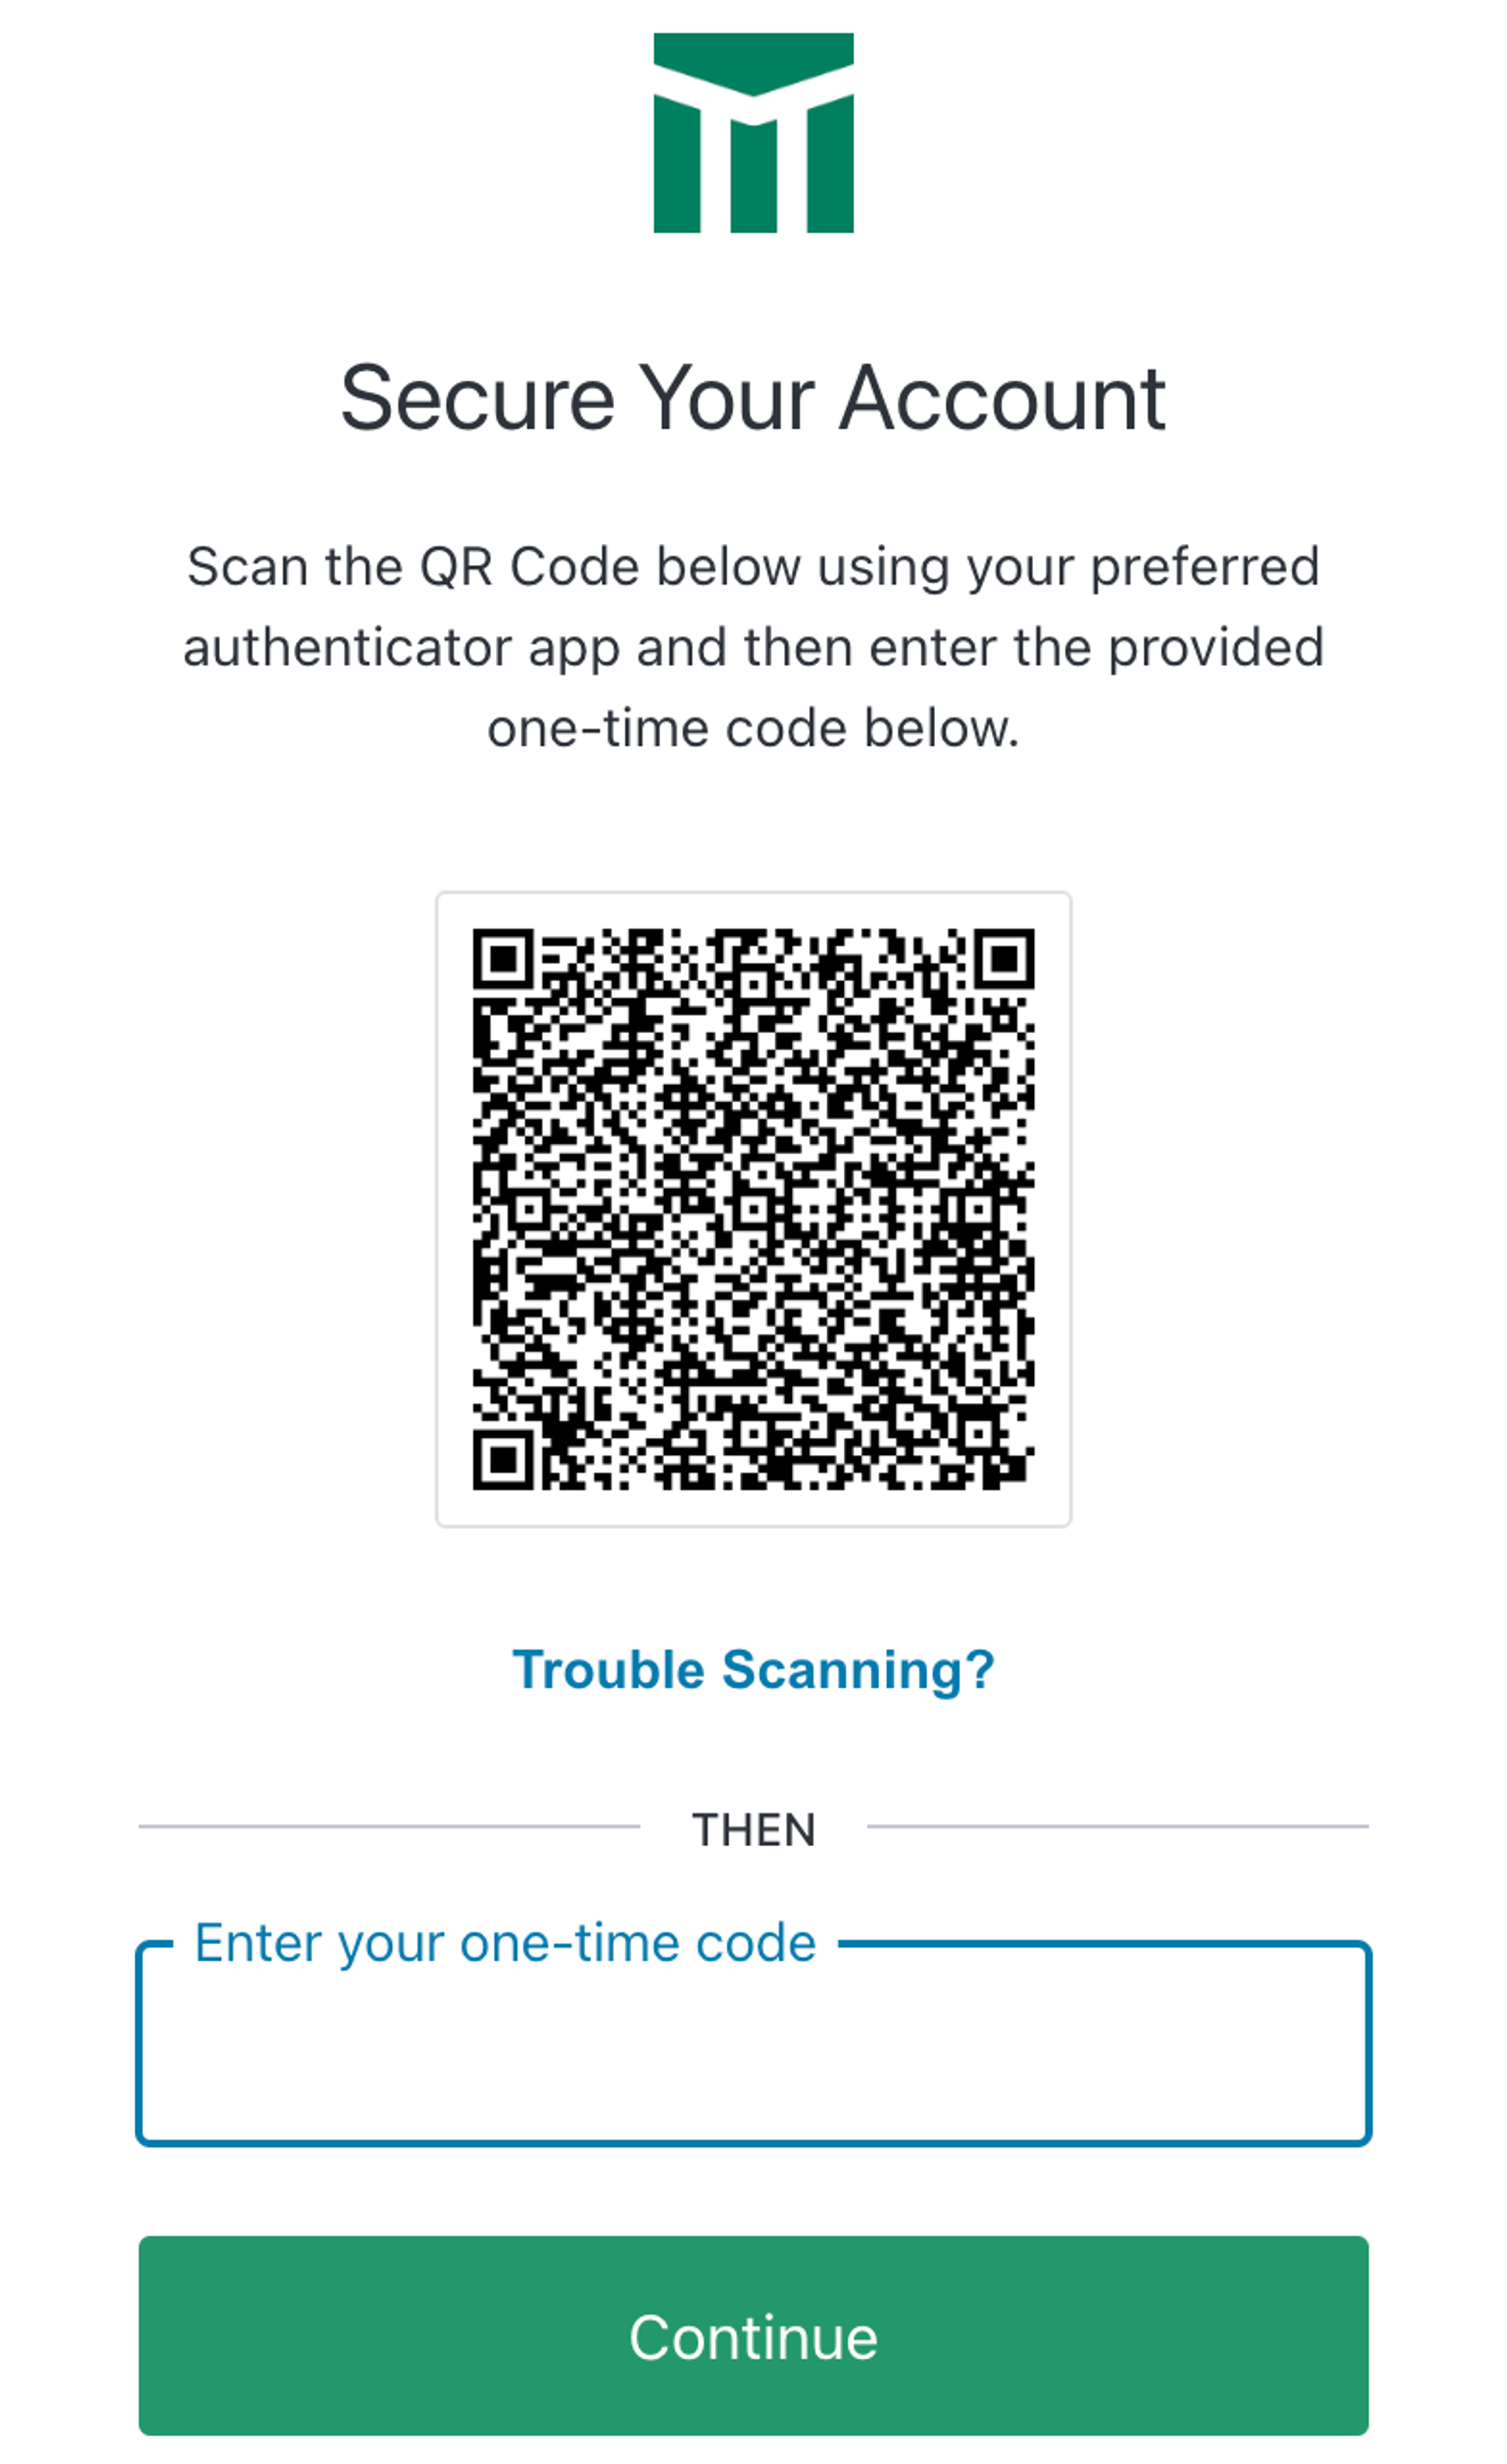
Time-based one-time password: this will be a QR code that the user scans with their Google Authenticator, 1Password, or any variety of password or authenticator apps
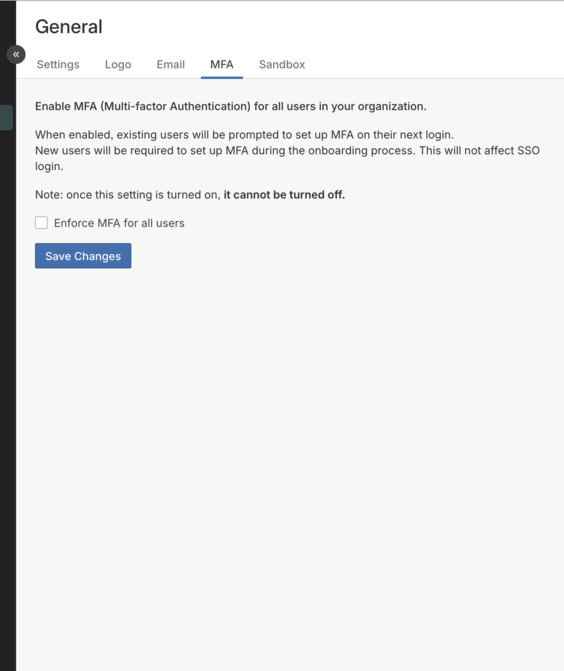
To turn on Multi-Factor Authentication for an entire organization
Note that once this setting is turned on, it cannot be turned off
This process can take may take 10-15 minutes. Once in place, each user logging in will be prompted to enable their MFA. We recommend doing this at the weekend or after business hours
- Navigate to "Settings > Organization - General" from the dashboard sidebar
- Click on "MFA" from the top bar
- From the 'Actions' dropdown menu, select 'Edit'
- Check the Enforce MFA for all users box
- Click 'Save Changes' to finish
Updated 15 days ago